|
Edmonton Transit (Alberta) |
||
|
1993 New Flyer "Low Floor" model D40LF #'s 200-242 |
||
|
|
||
|
|
|
#211 is seen departing from the CN Tower in the downtown core in April of 1997. Photo captured by Peter McLaughlin. |
|
|
||
|
Photo
|
|
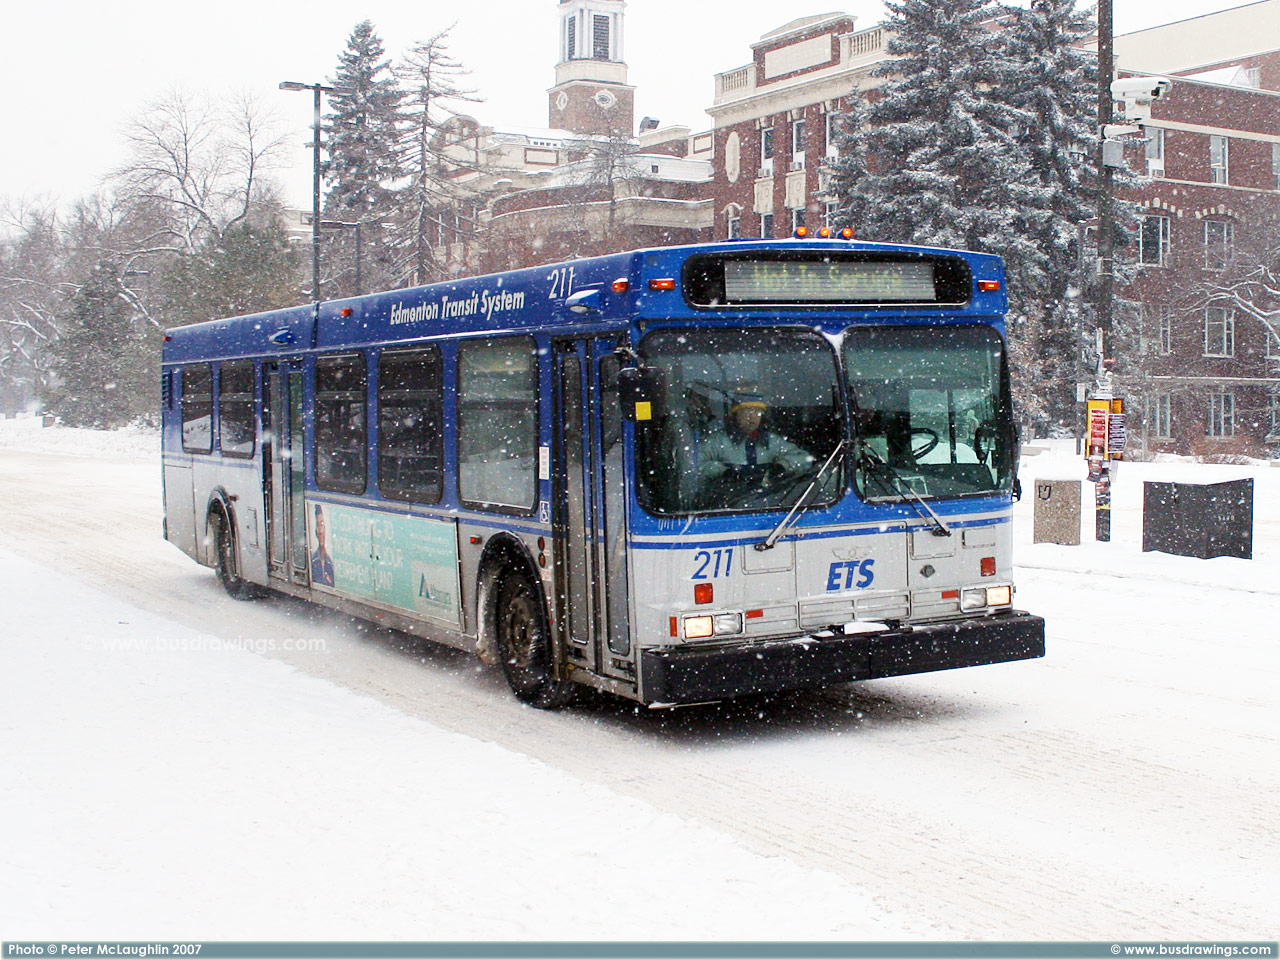
#211 leaving the University of Alberta on February 5, 2007. Photo captured by Peter McLaughlin. |
|
|
||
|
Photos
Added: |
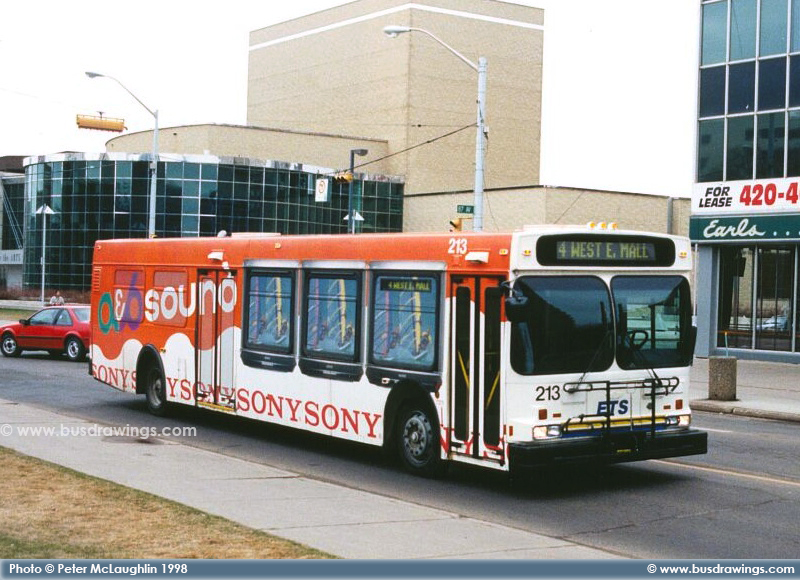
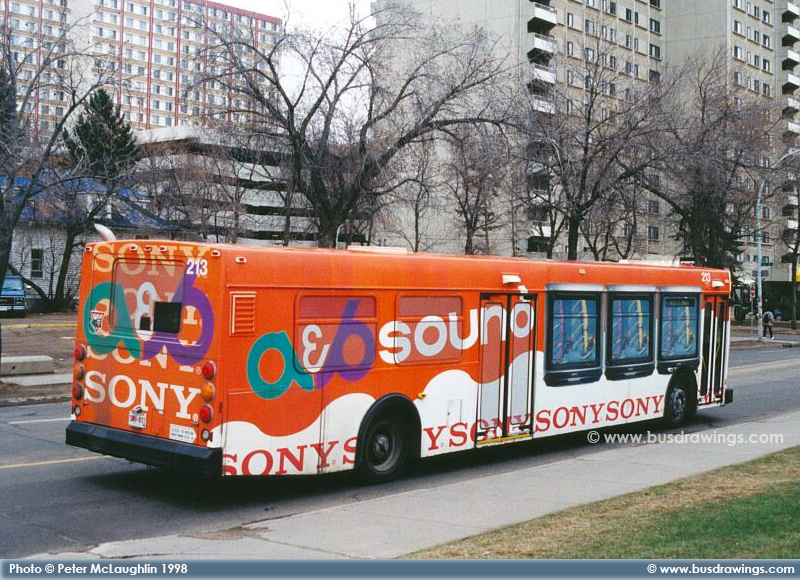
#213 is seen with an all over ad wrap for A&B Sound near the University while working as a route 4 West Edmonton Mall in these two shots captured by Peter McLaughlin in April of 1998. | |
|
|
||
|
Photo
Added: |
|
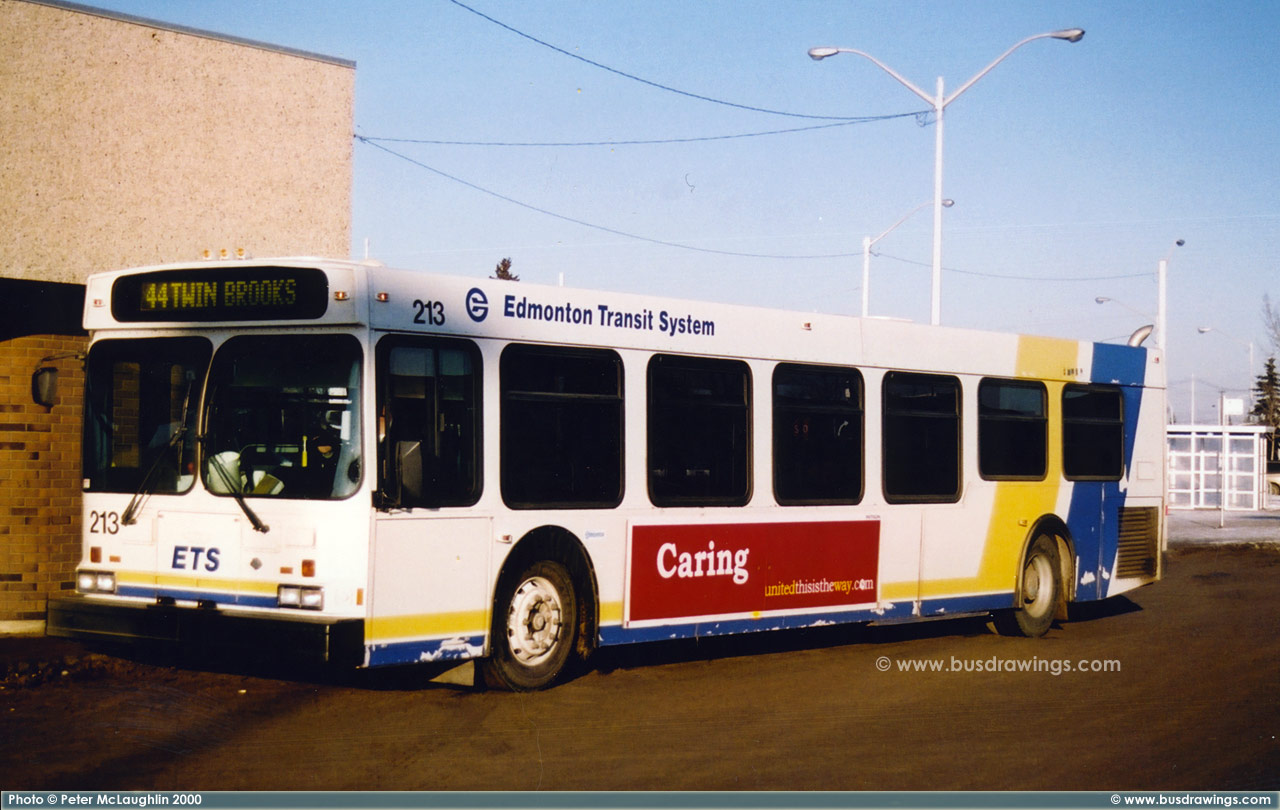
#213. Photo captured by Peter McLaughlin on December 30, 2000. |
|
|
||
|
Photo
Added: |
|
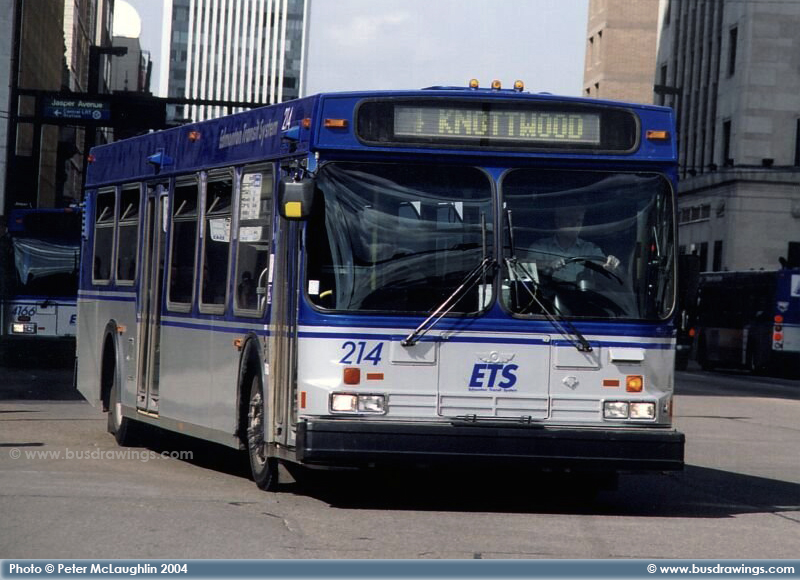
#214 is seen in the Downtown Core working as a route 64 Knottwood on August 26, 2004. Photo Captured by Peter McLaughlin. |
|
|
||
|
Photo
Added: |
|
#214 arriving at the Southgate Transit Centre on April 24, 2010. Peter McLaughlin Photo. |
|
|
||
|
Photo
Added: |
|
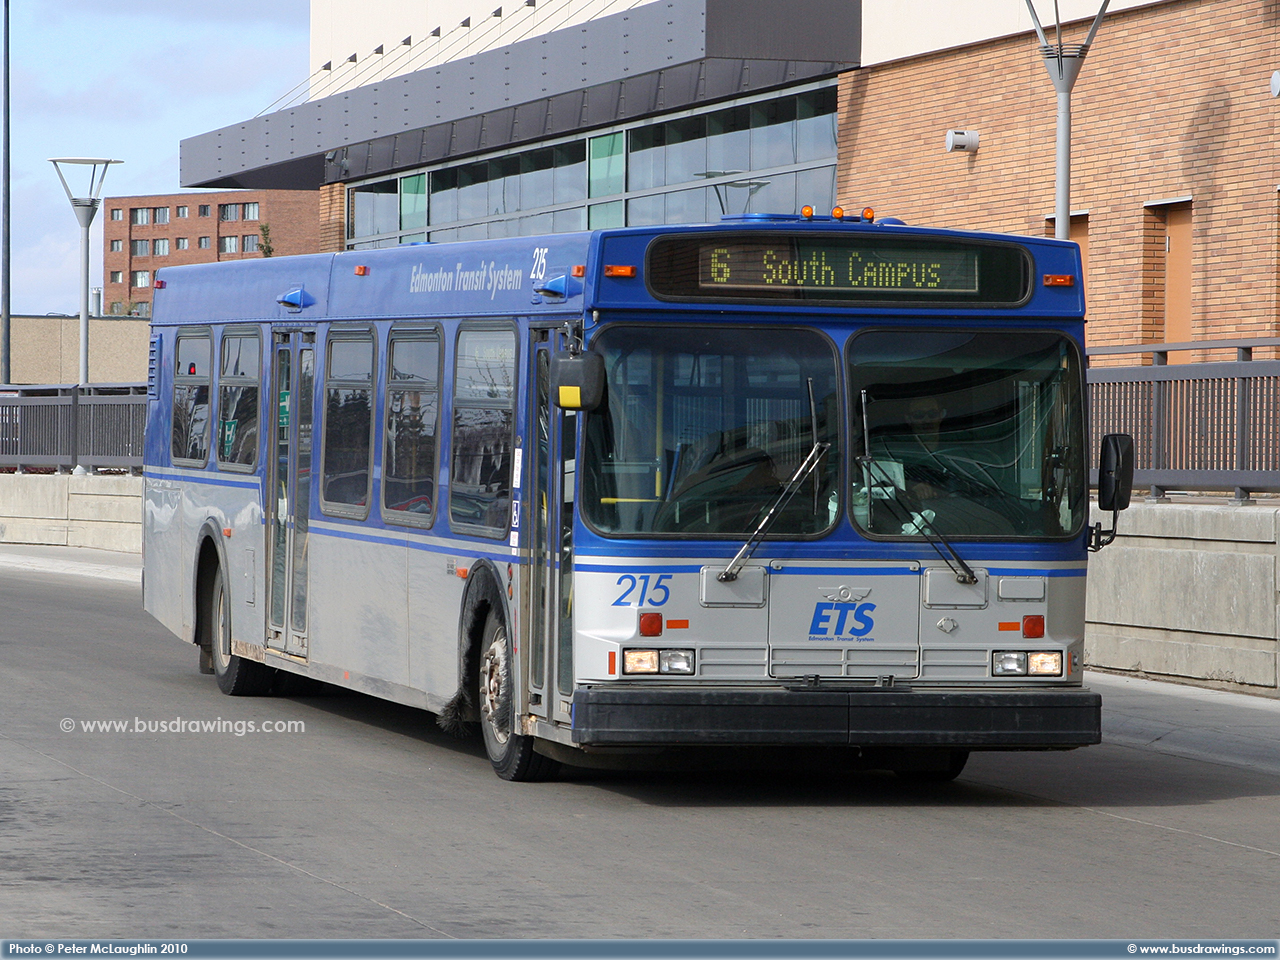
#215 arriving at the Southgate Transit Centre on April 24, 2010. Peter McLaughlin Photo. |
|
|
||
|
Photo
Added: |
|
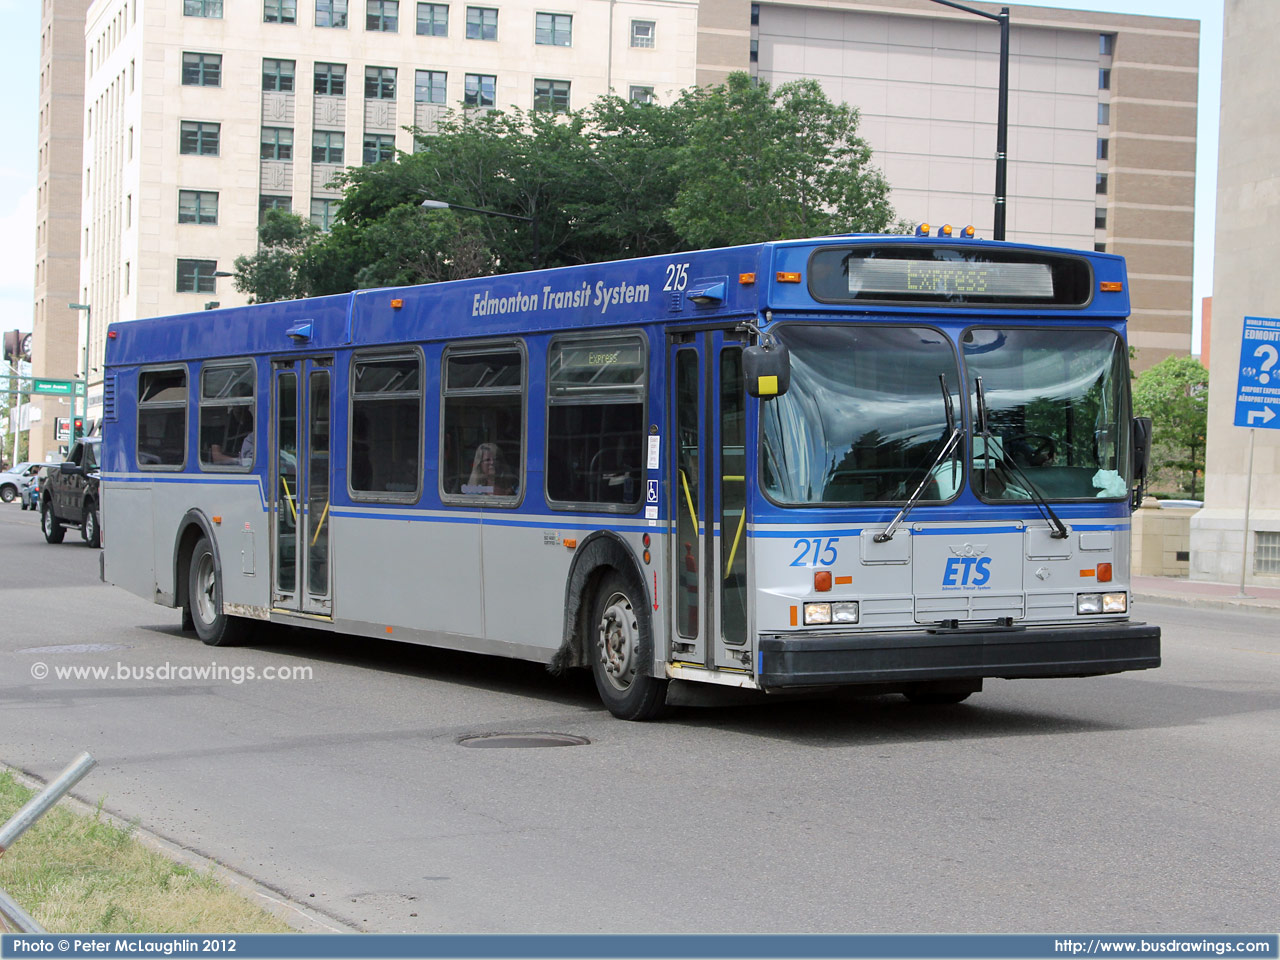
#215 in the downtown core in July of 2012. Photo captured by Peter McLaughlin. |
|
|
||
|
Photo
Added: |
|
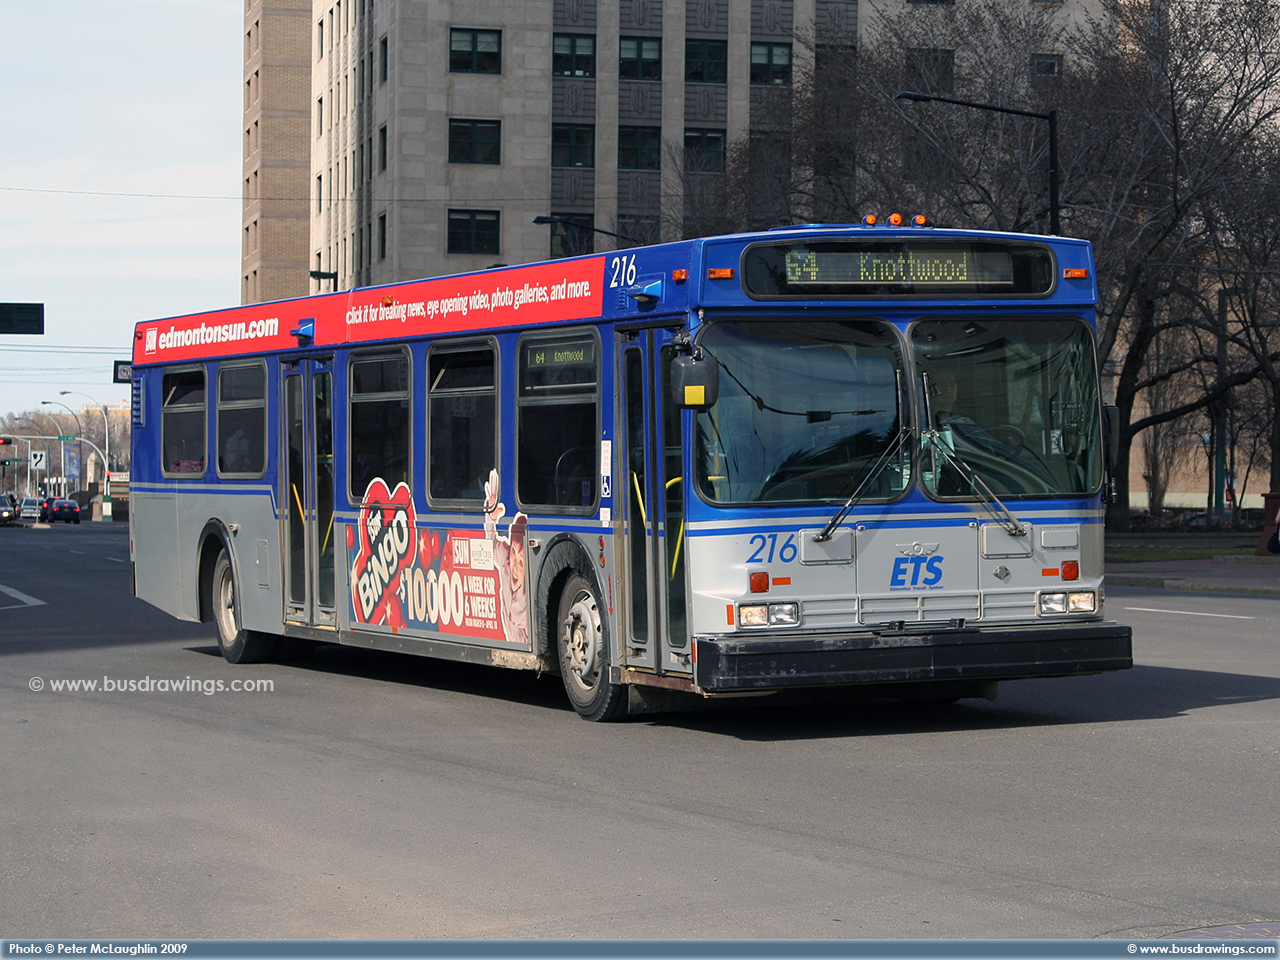
#216 in the downtown core on April 21, 2009. Photo captured by Peter McLaughlin. |
|
|
||
|
|
|
#217 is seen in the downtown core in April of 1997. Photo captured by Peter McLaughlin. |
|
|
||
|
Photo
Added: |
|
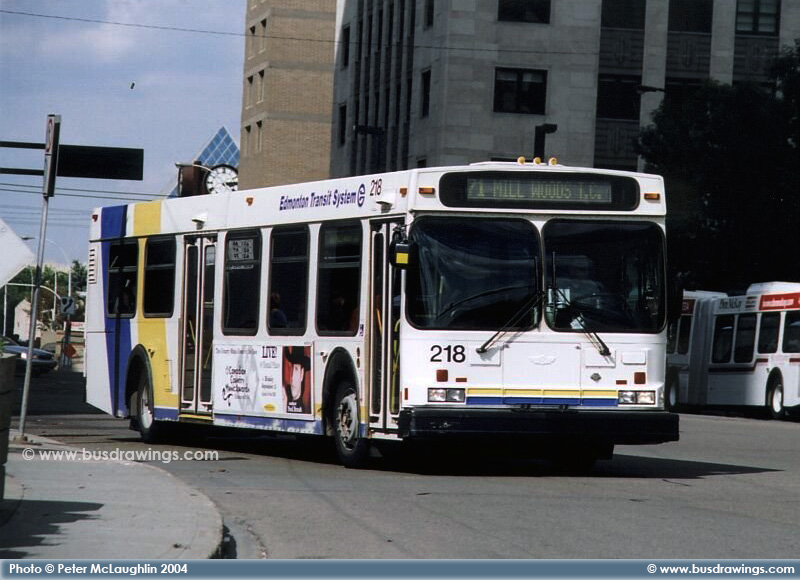
#218 is seen operating as a route 71 Millwoods T.C. in this view captured in Downtown Edmonton on August 26, 2004 by Peter McLaughlin. |
|
|
||
|
Photo
|
|
#218 in the downtown core on February 5, 2007. Photo captured by Peter McLaughlin. |
|
|
||
|
Photo
Added: |
|
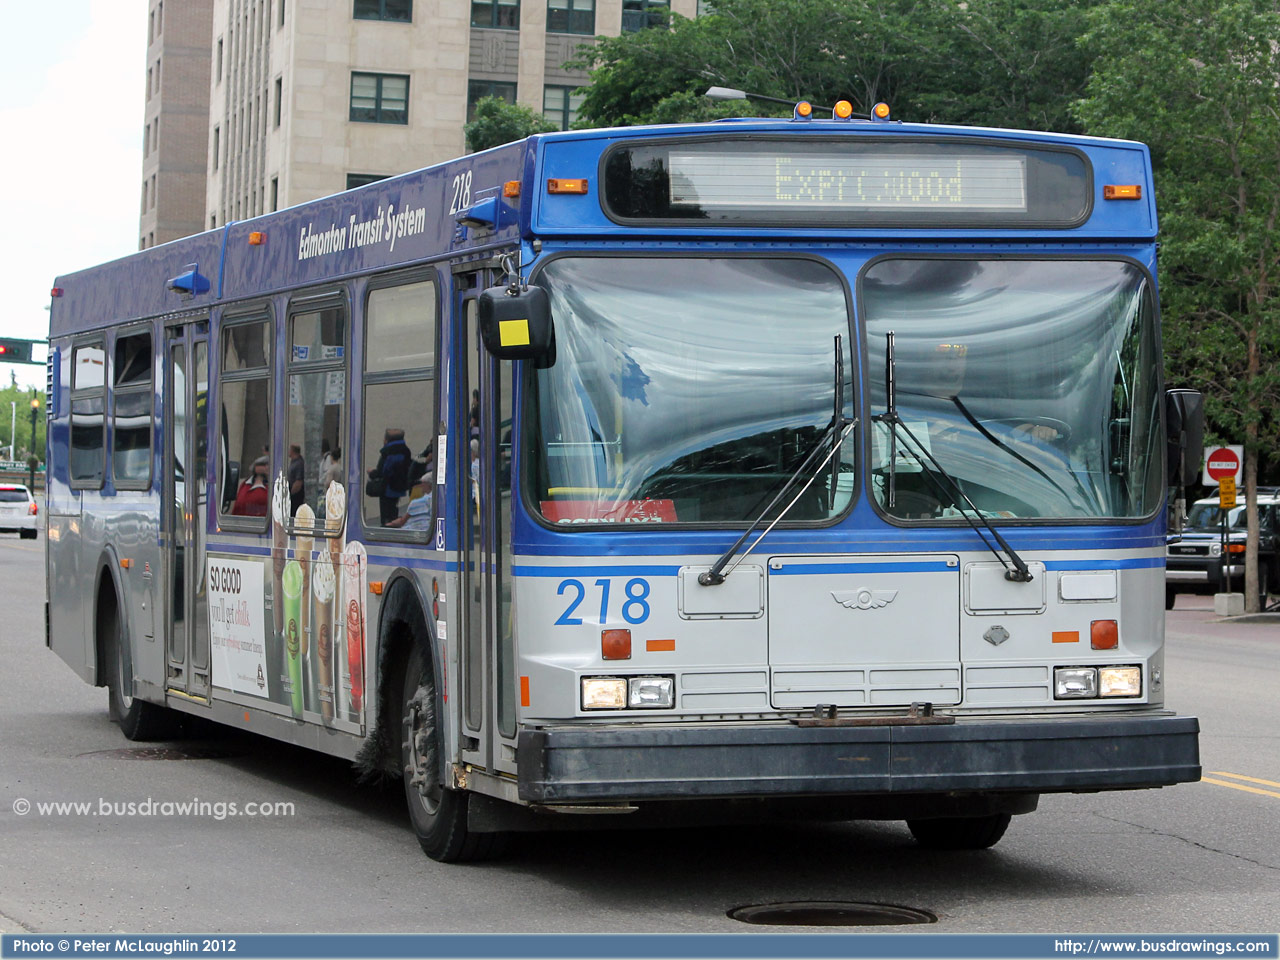
#218 in the downtown core in July of 2012. Photo captured by Peter McLaughlin. |
|
|
||
|
Photo
|
|
#220 leaving the downtown core on February 5, 2007. Photo captured by Peter McLaughlin. |
|
|
||
|
Photos
Added: |
|
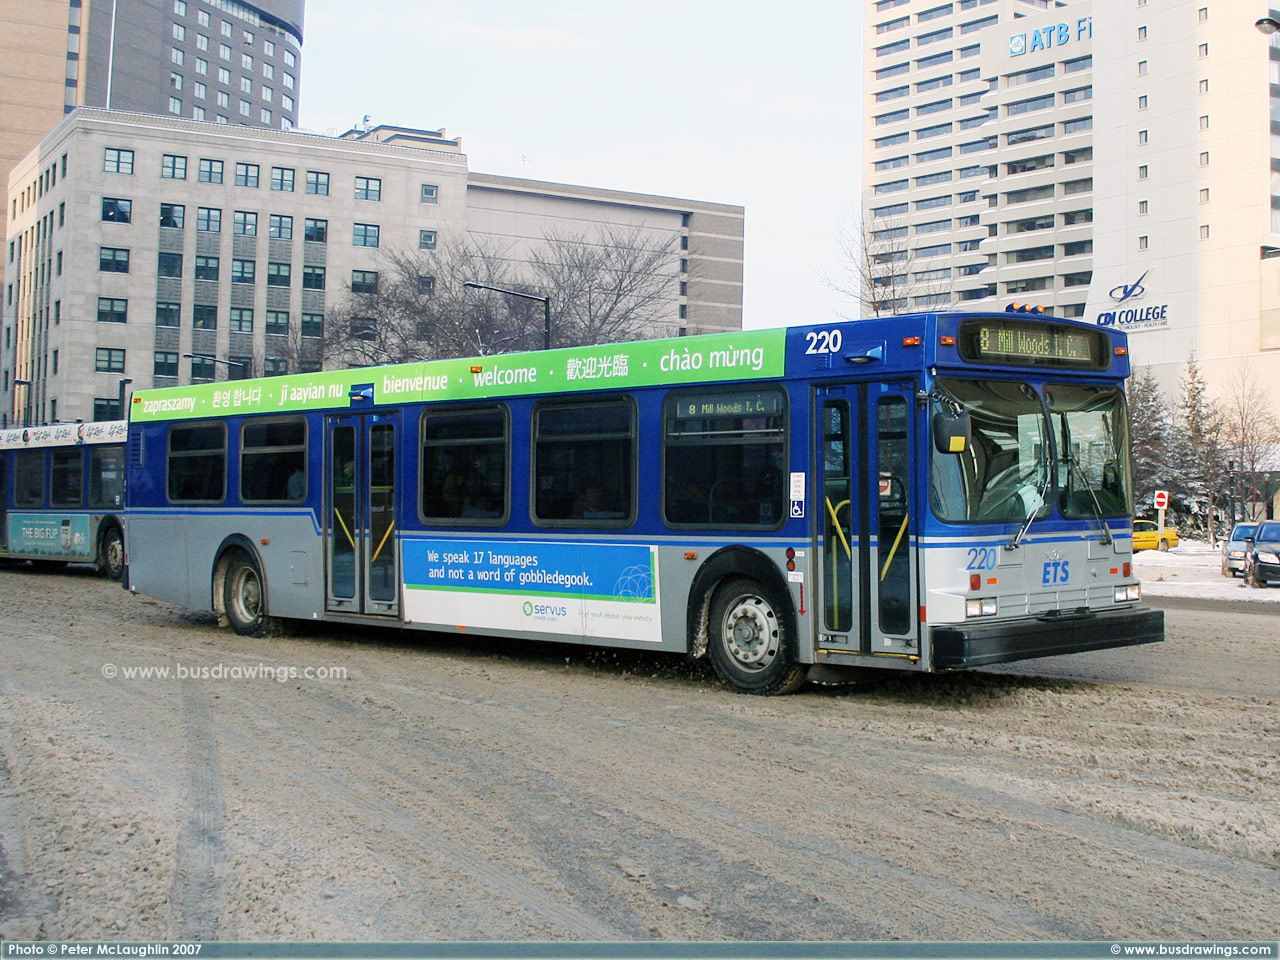
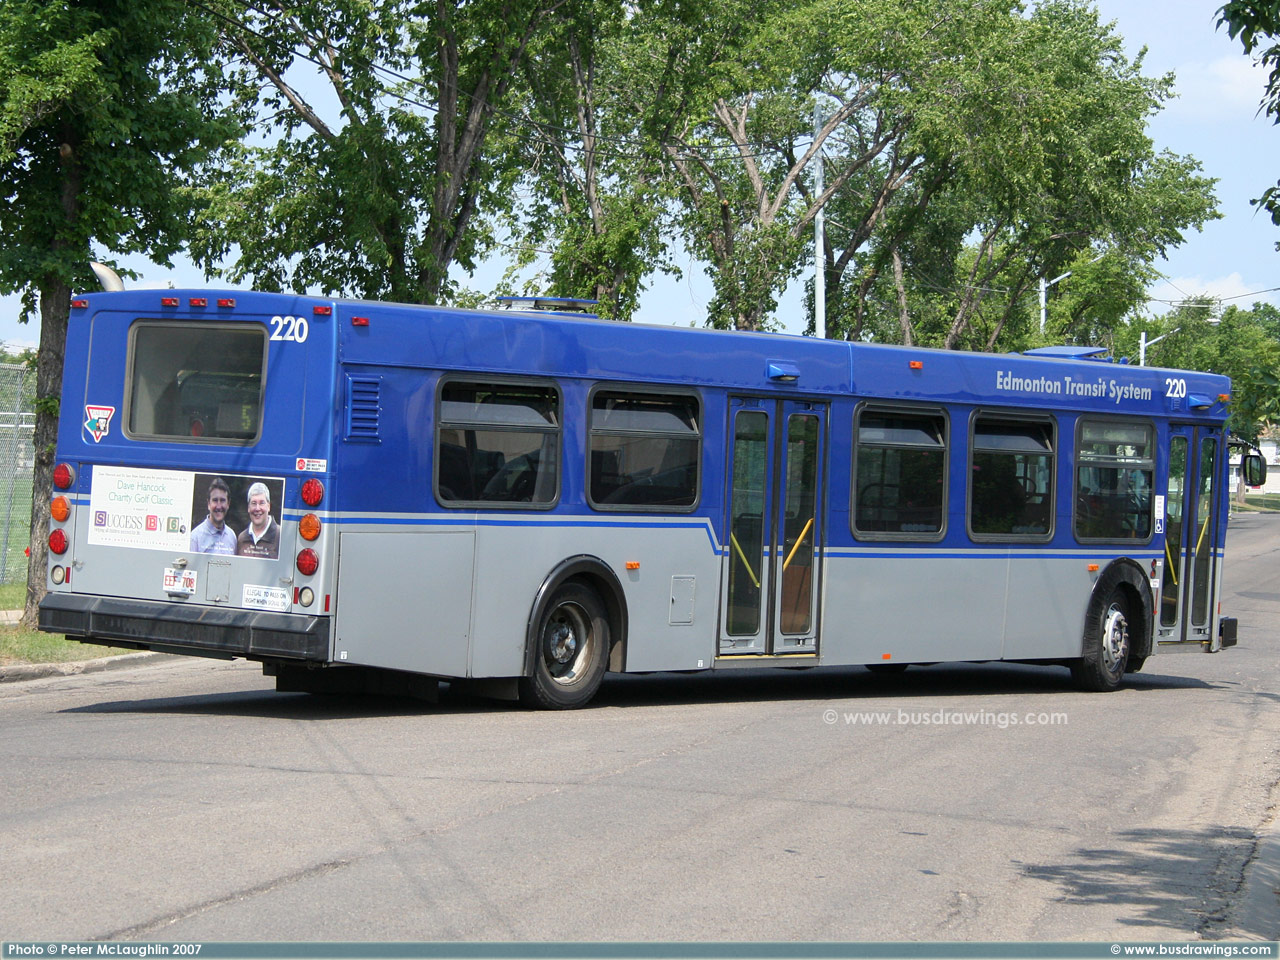
#220 leaving the Westmount Transit Centre on July 17, 2007. Photos captured by Peter McLaughlin. |
|
|
||
|
Photo
Added: |
|
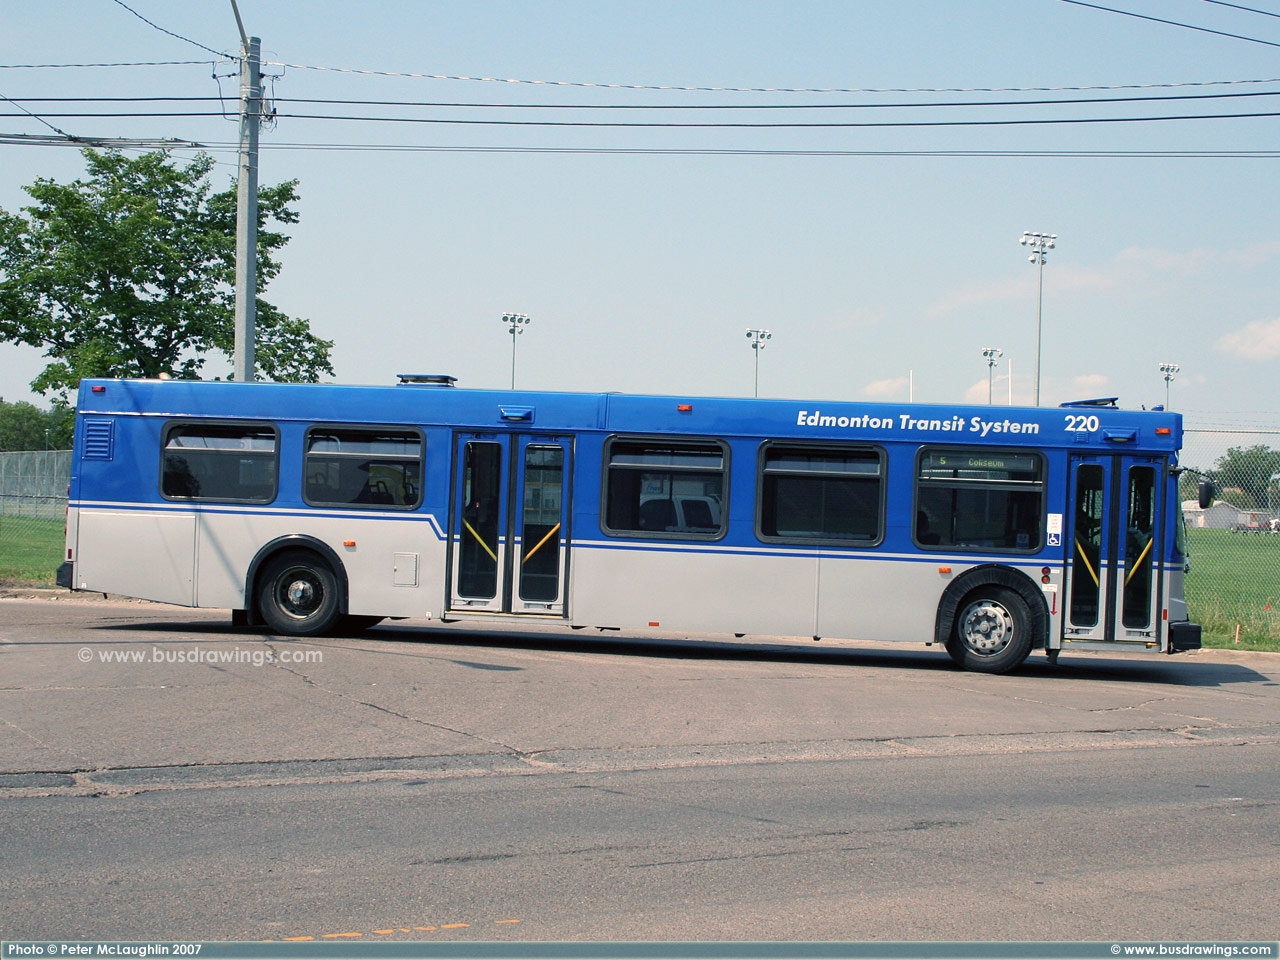
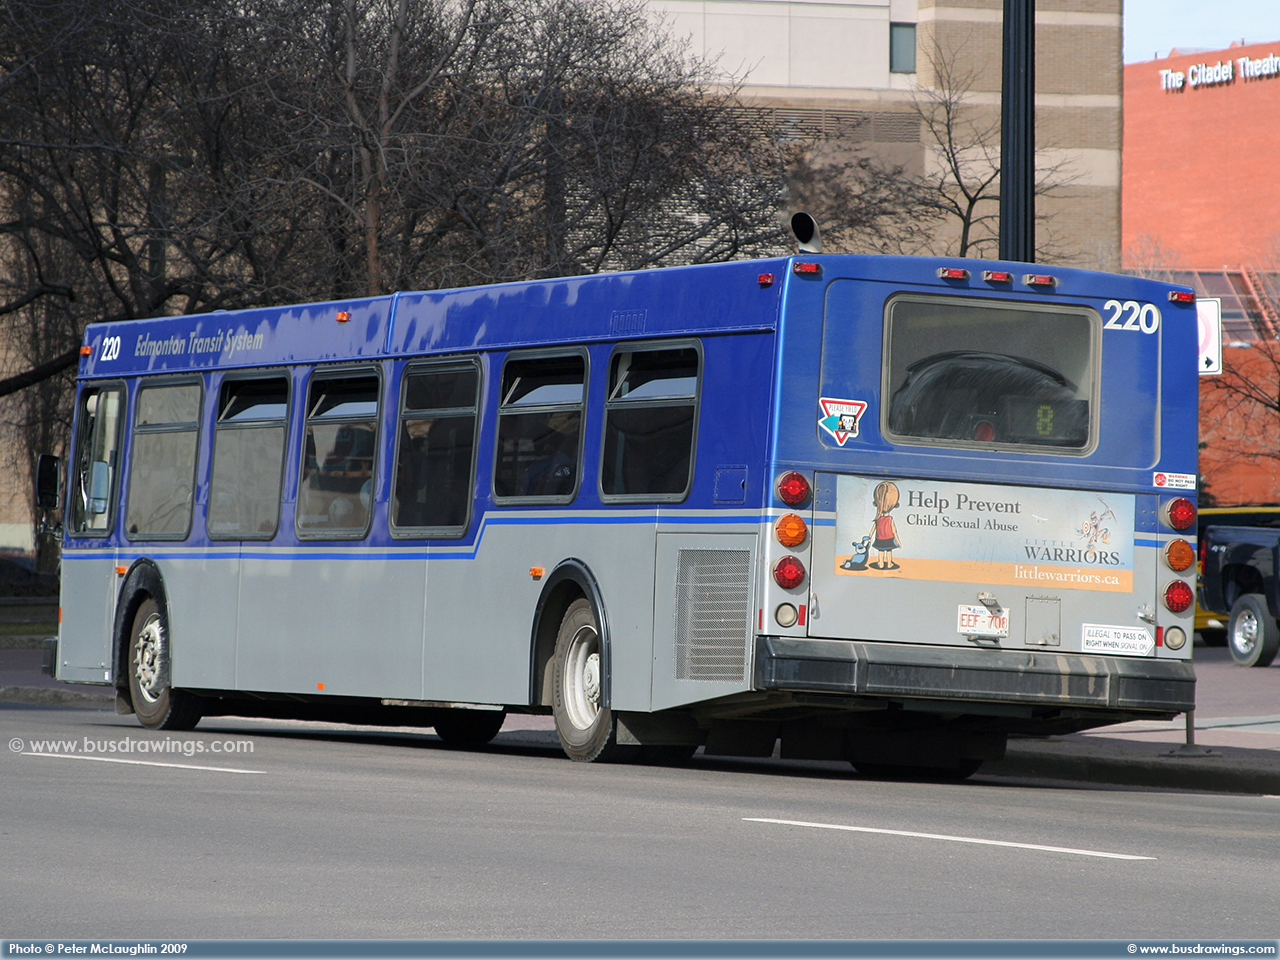
#220 in the downtown core on April 21, 2009. Photo captured by Peter McLaughlin. |
|
|
||
| Main Page http://www.busdrawings.com | ||
 |
||