|
Edmonton Transit (Alberta) |
||
|
2003 New Flyer "Low Floor" model D40LF #'s 4353-4402 |
||
|
|
||
|
Photo
Added: |
|
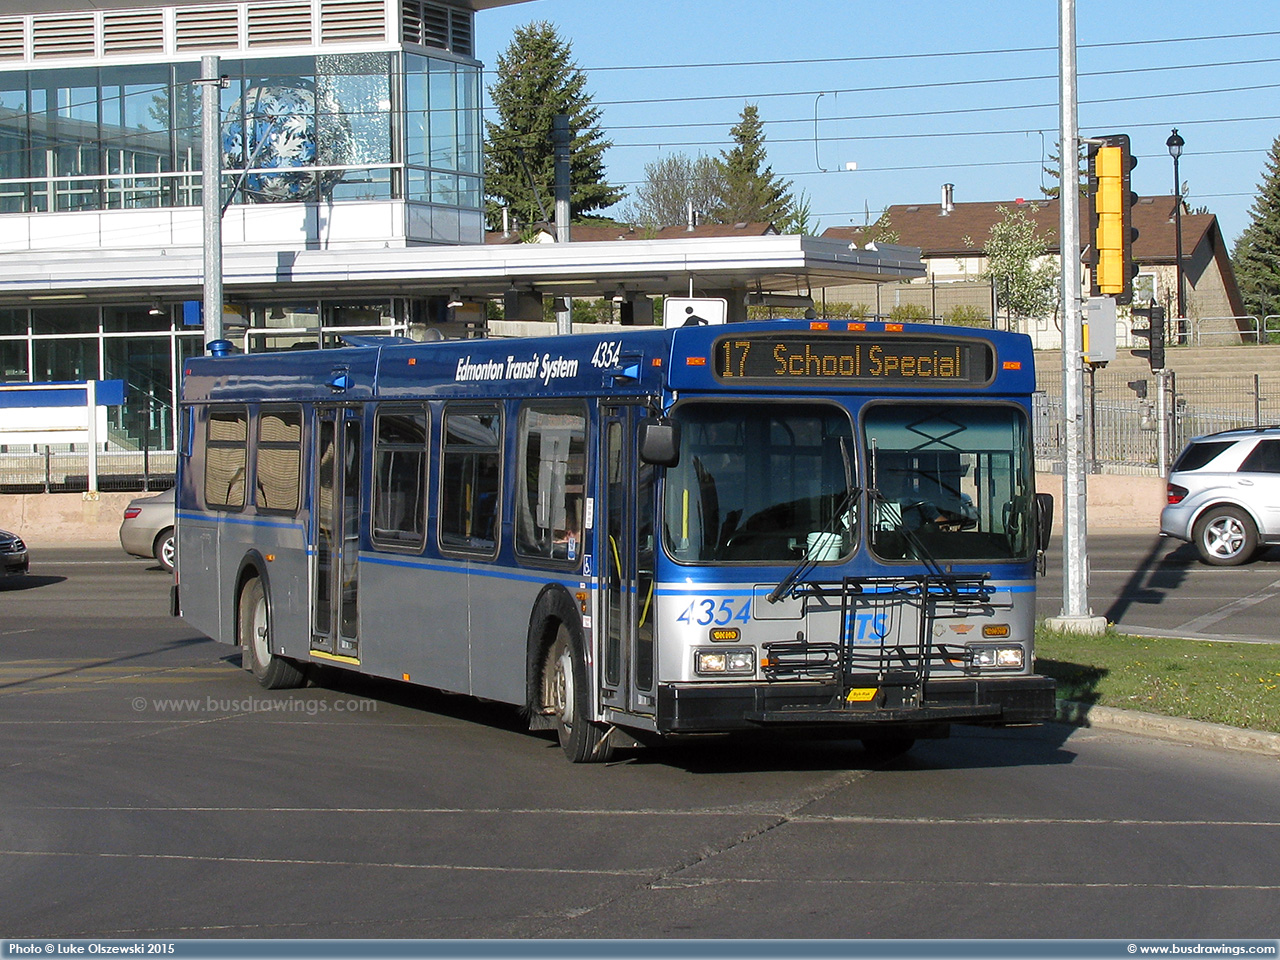
#4354 arriving at the Southgate LRT Station on May 21, 2015. Photo captured by Luke Olszewski. |
|
|
||
|
|
|
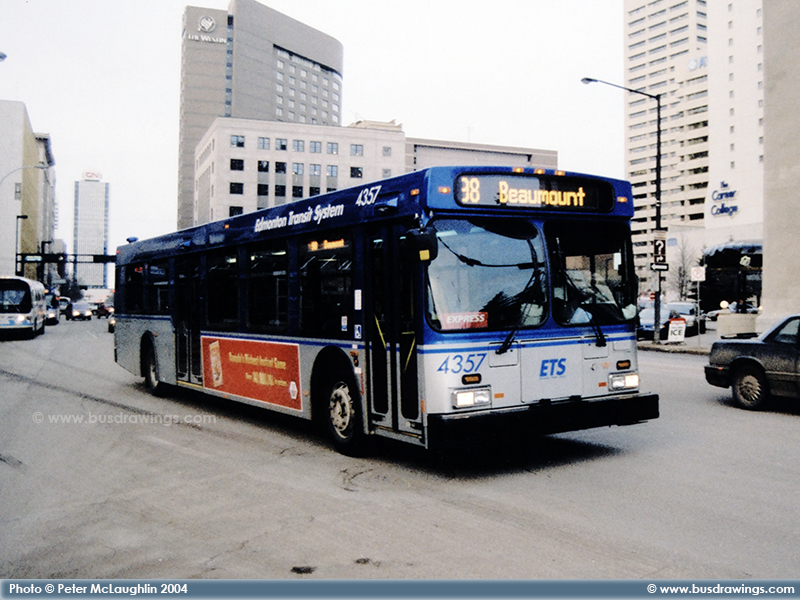
#4357 southbound on 100th St. south of Jasper Ave. while working a route 98 Beaumont on February 14, 2004. Photo captured by Peter McLaughlin. |
|
|
||
|
Photo
Added: |
|
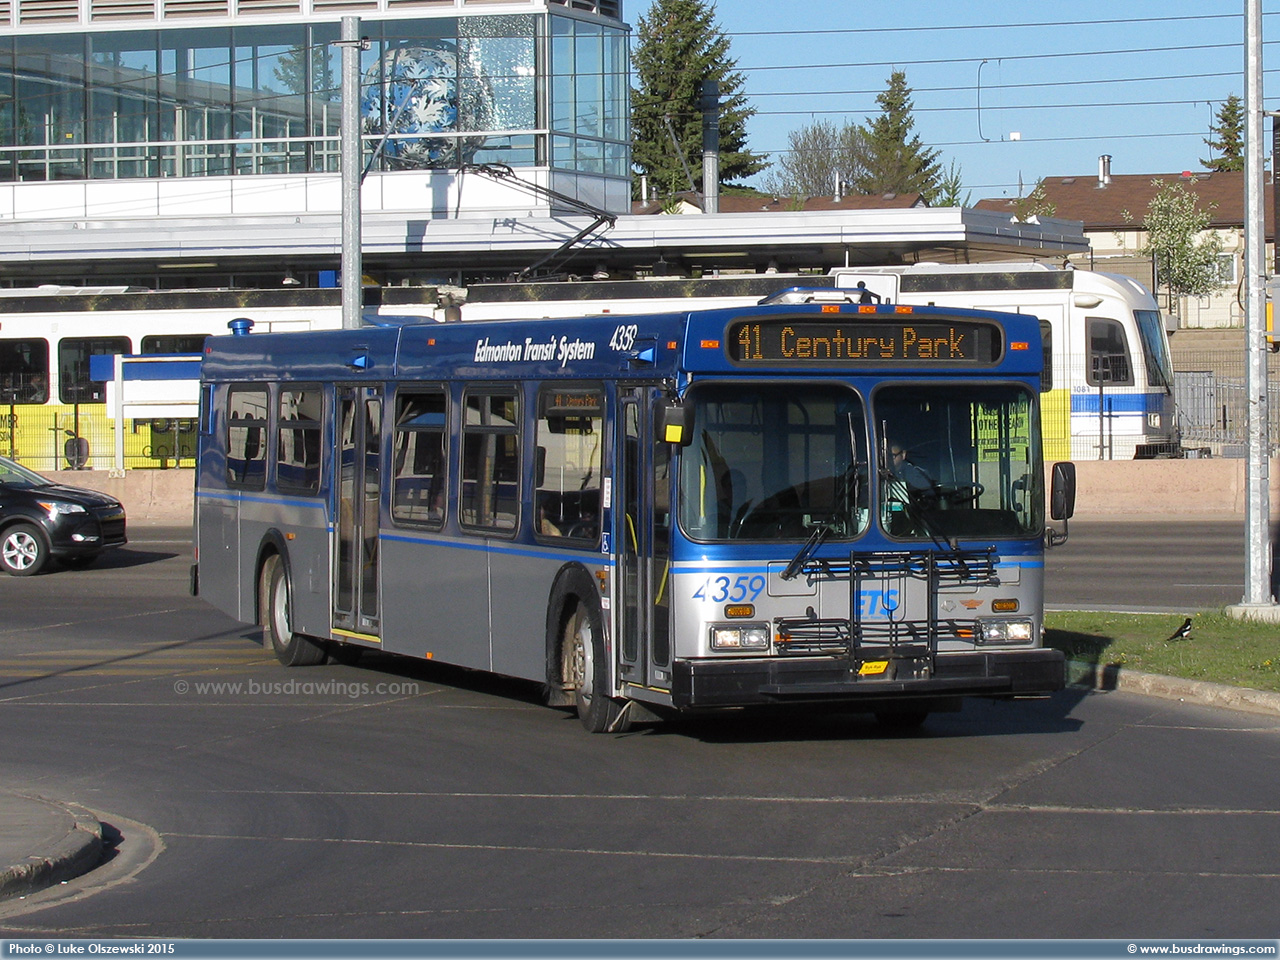
#4359 arriving at the Southgate LRT Station on May 21, 2015. Photo captured by Luke Olszewski. |
|
|
||
|
|
|
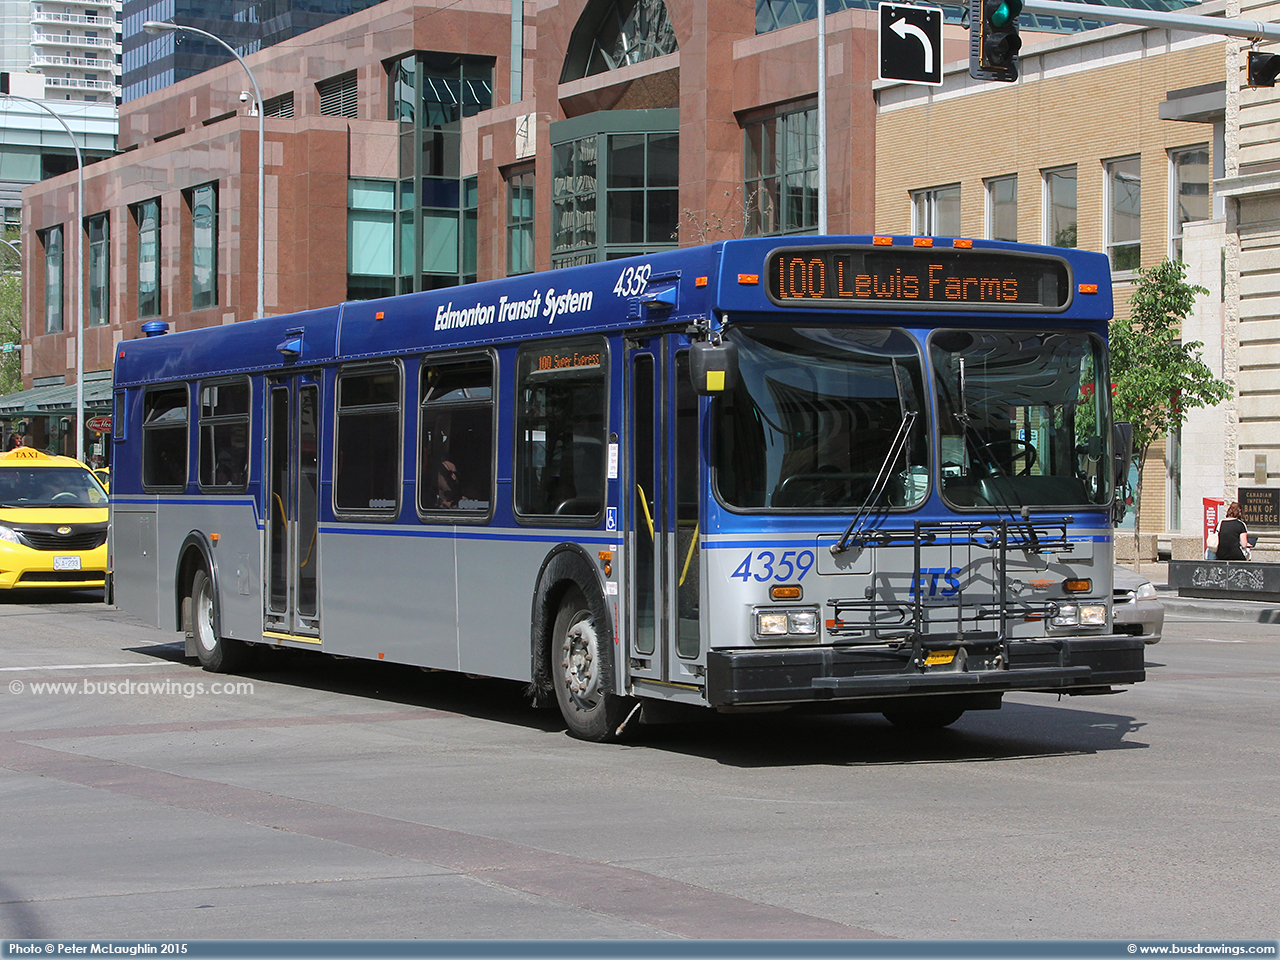
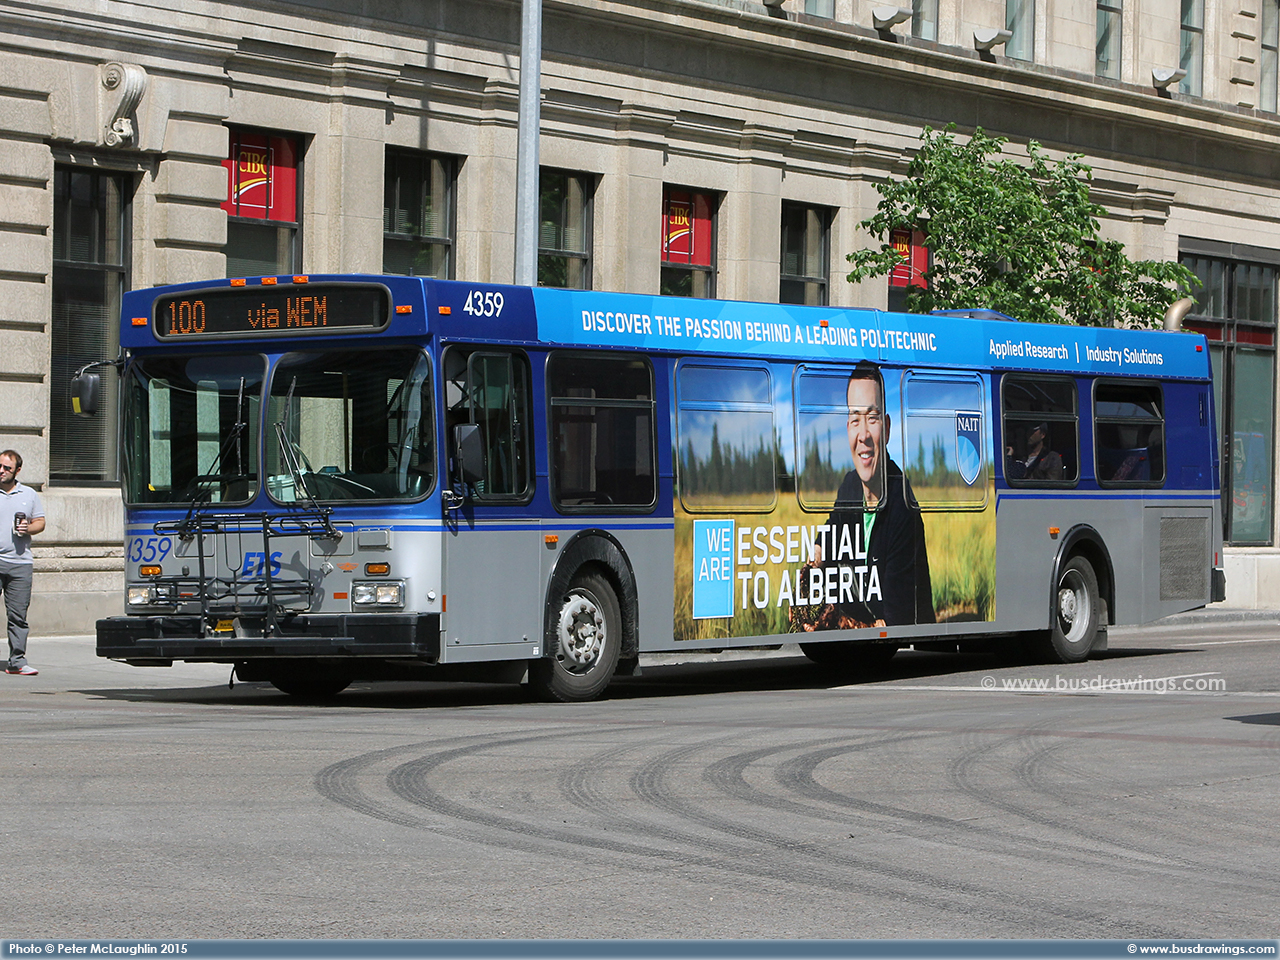
#4359 is seen in the Downtown Core on Jasper Ave. at 101 St. while working a route 100 on June 3, 2015. Photo captured by Peter McLaughlin. |
|
|
||
|
|
|
#4359 is seen in the Downtown Core while working a route 100 on June 3, 2015. Photo captured by Peter McLaughlin. |
|
|
||
|
Photo
Added: |
|
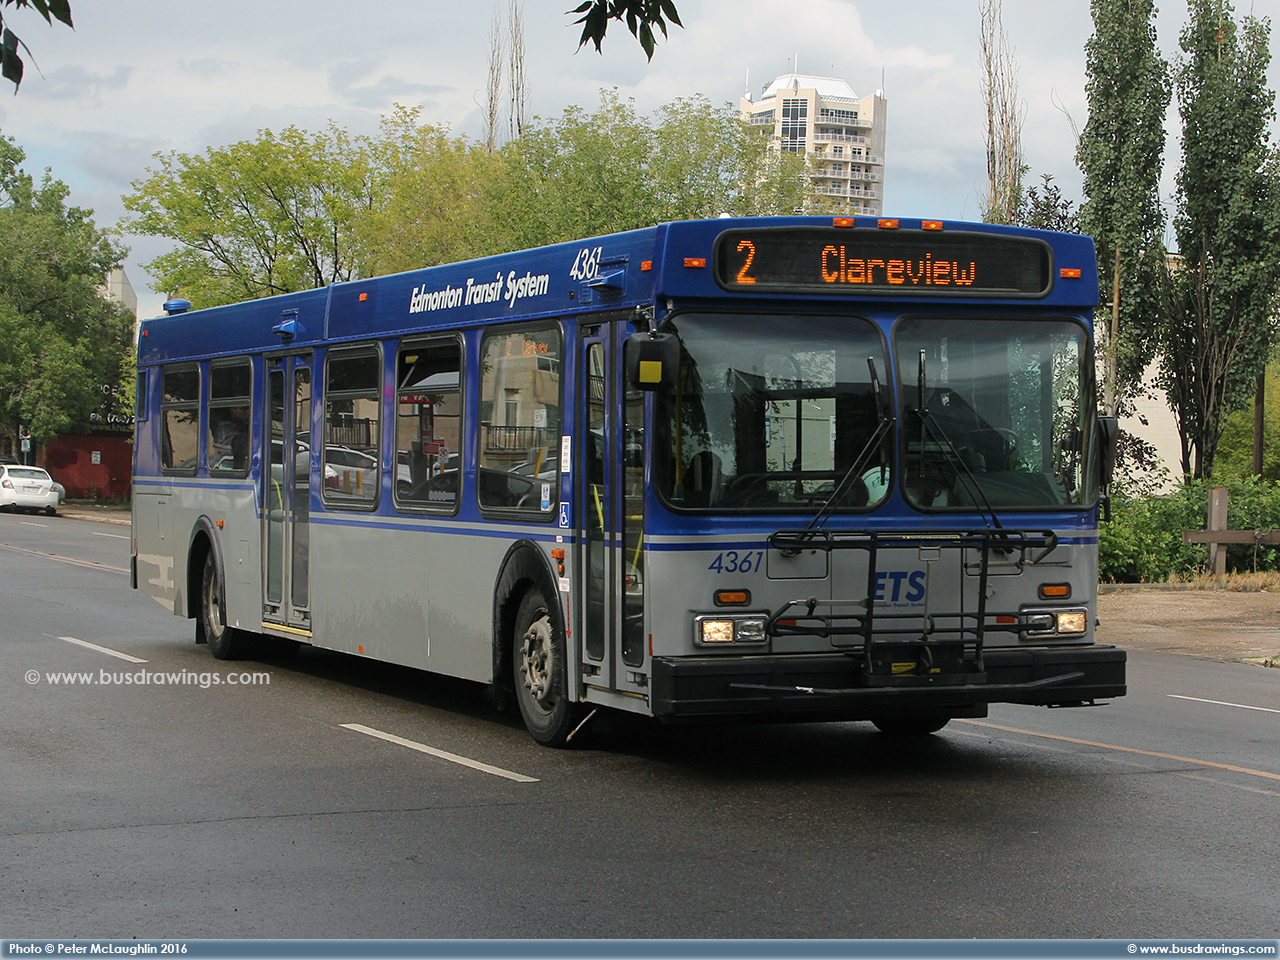
#4361 southbound on 105th St. at Jasper Ave. on July 15, 2016. Photo captured by Peter McLaughlin. |
|
|
||
|
Photos
Added: |
|
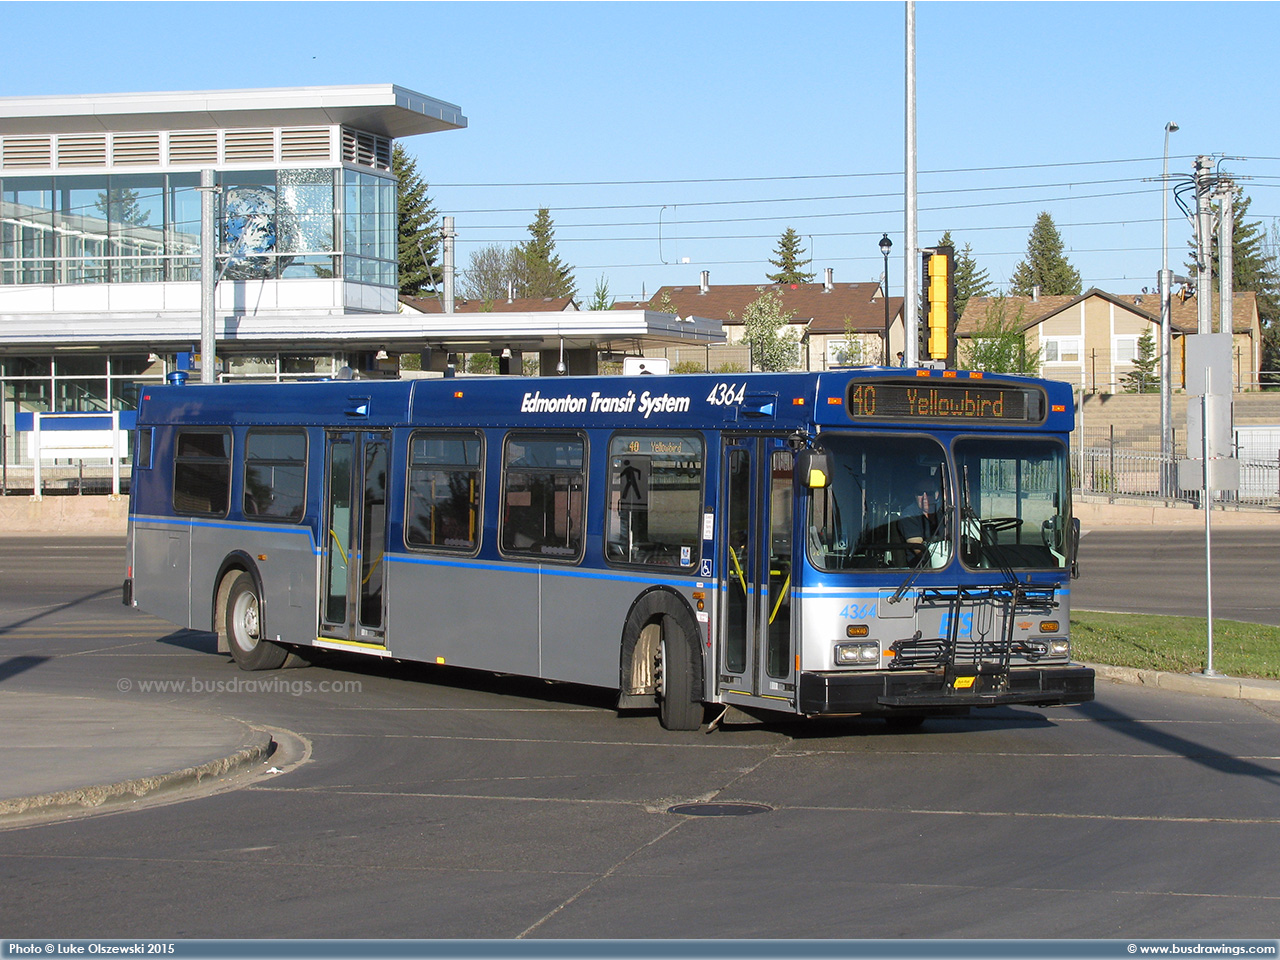
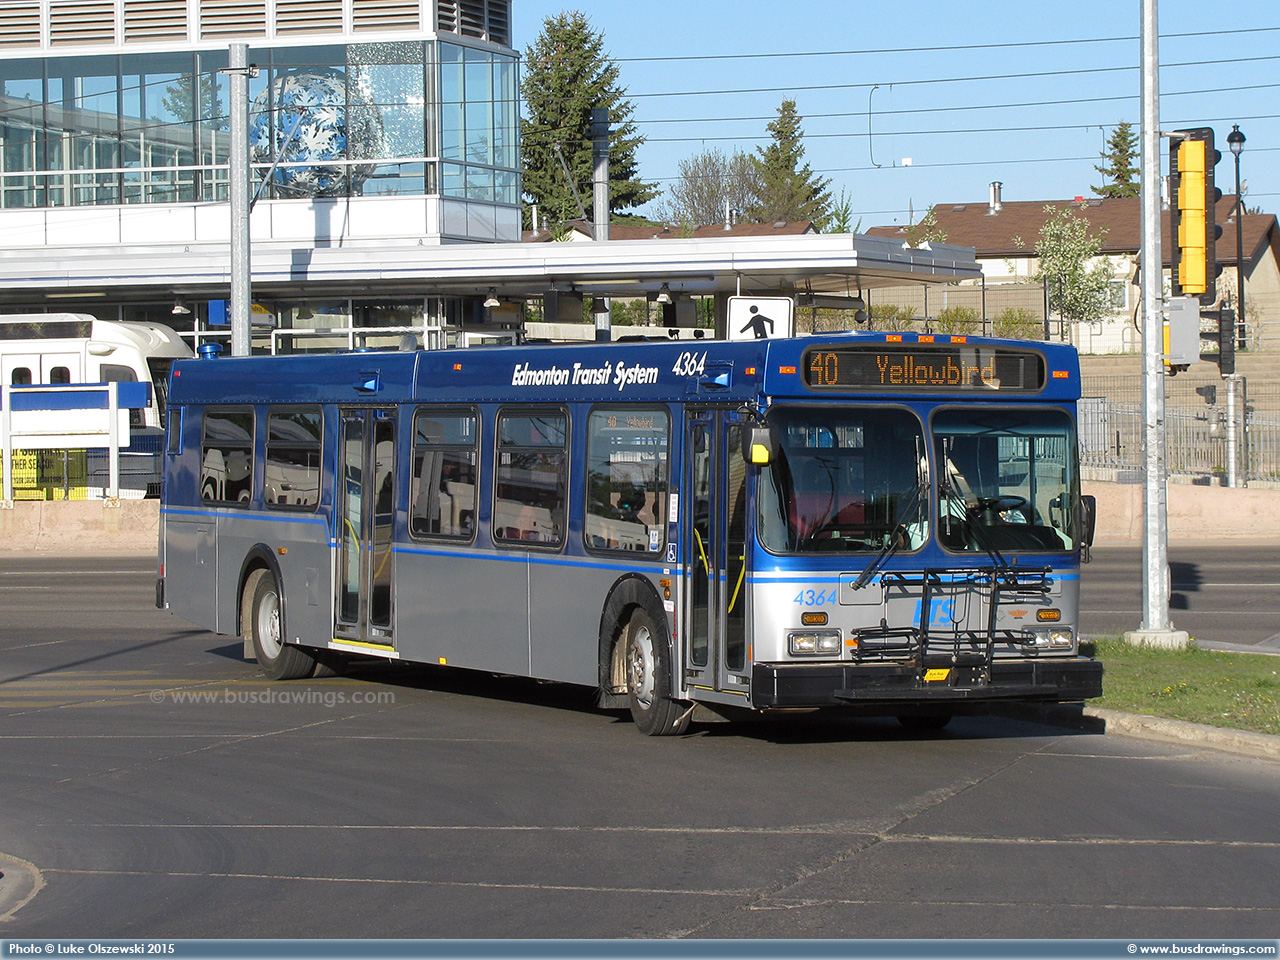
#4364 arriving at the Southgate LRT Station on May 21, 2015. Photos captured by Luke Olszewski. |
|
|
||
|
|
|
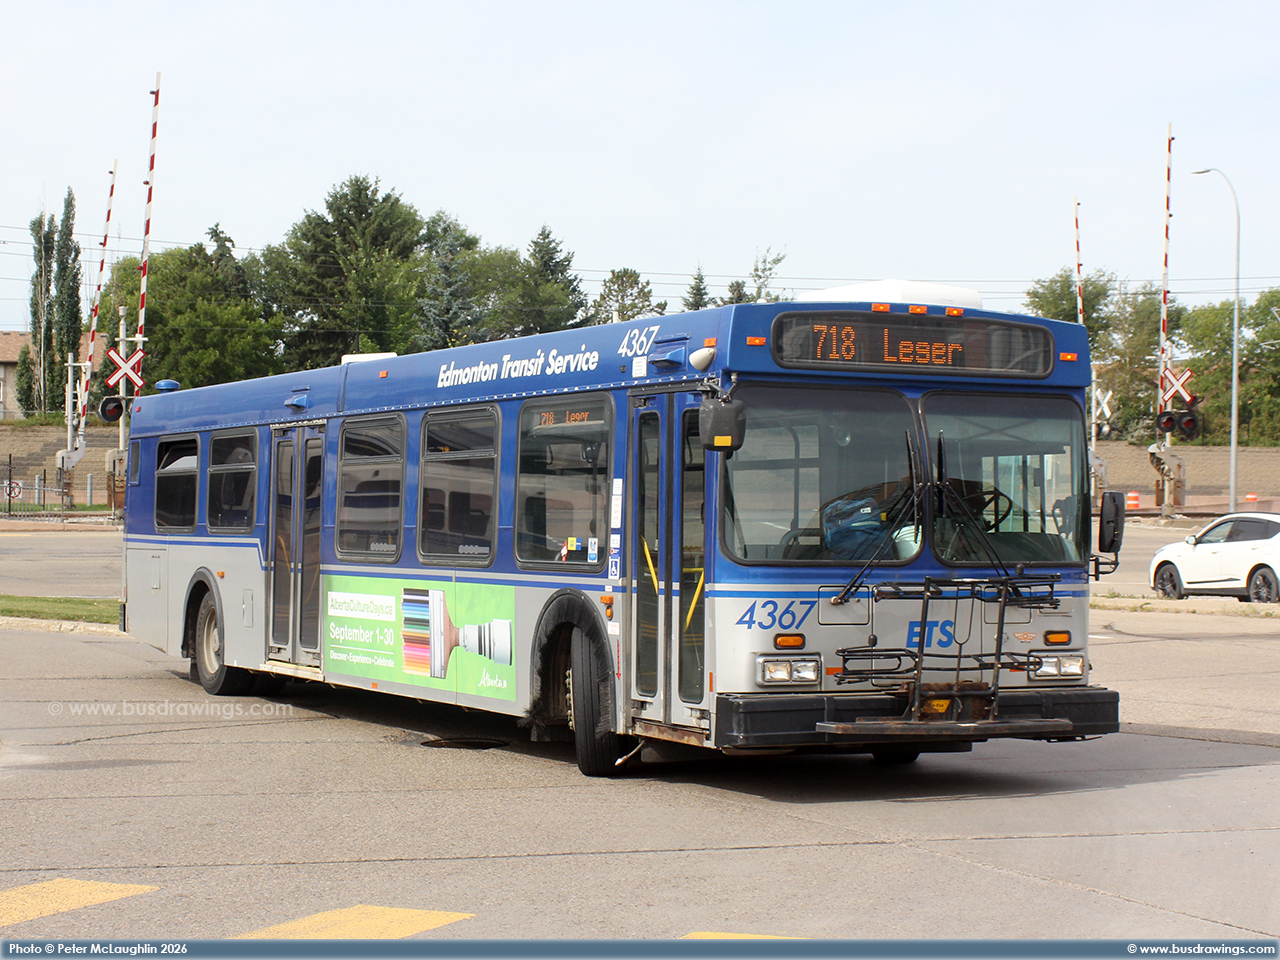
#4367 is seen arriving at the Century Park Station while working a route 718 on September 9, 2026. Photo captured by Peter McLaughlin. |
|
|
||
|
Photo
Added: |
|
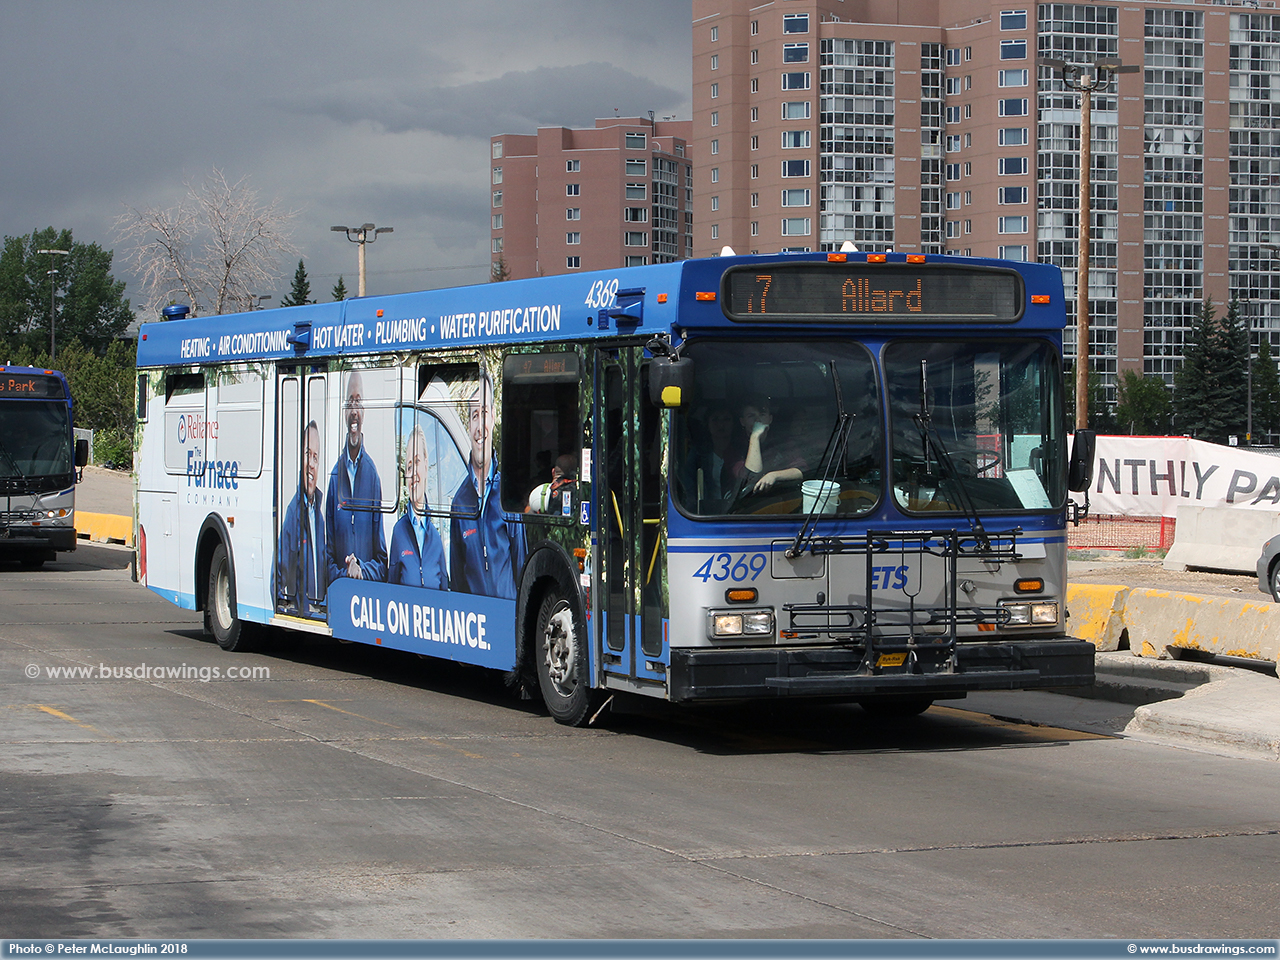
#4369 is seen at the Century Park Station on June 15, 2018. Photo captured by Peter McLaughlin. |
|
|
||
|
Photo
Added: |
|
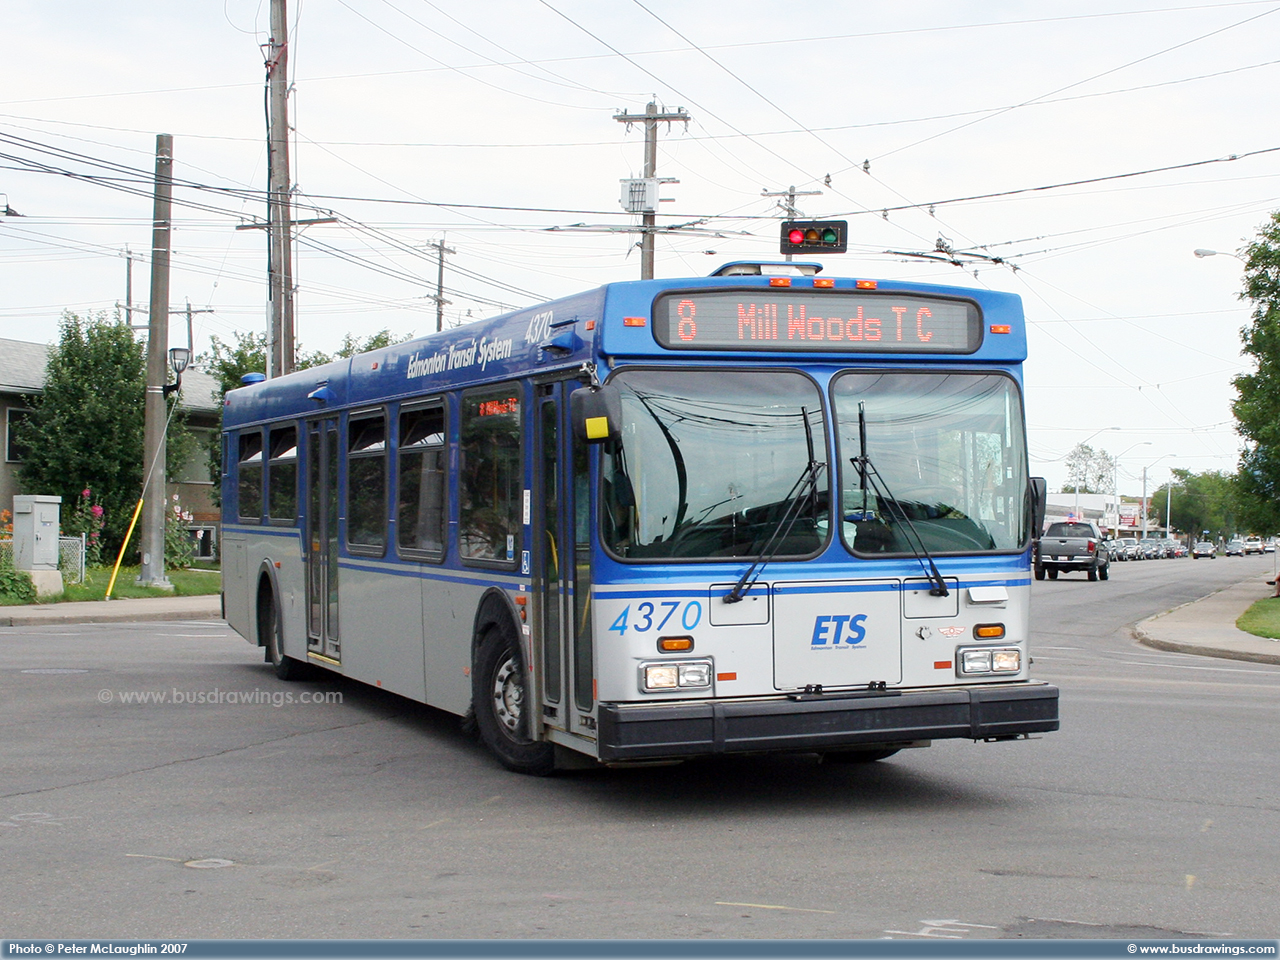
#4370. Photo captured on July 18, 2007 by Peter McLaughlin. |
|
|
||
|
Photos
Added: |
|
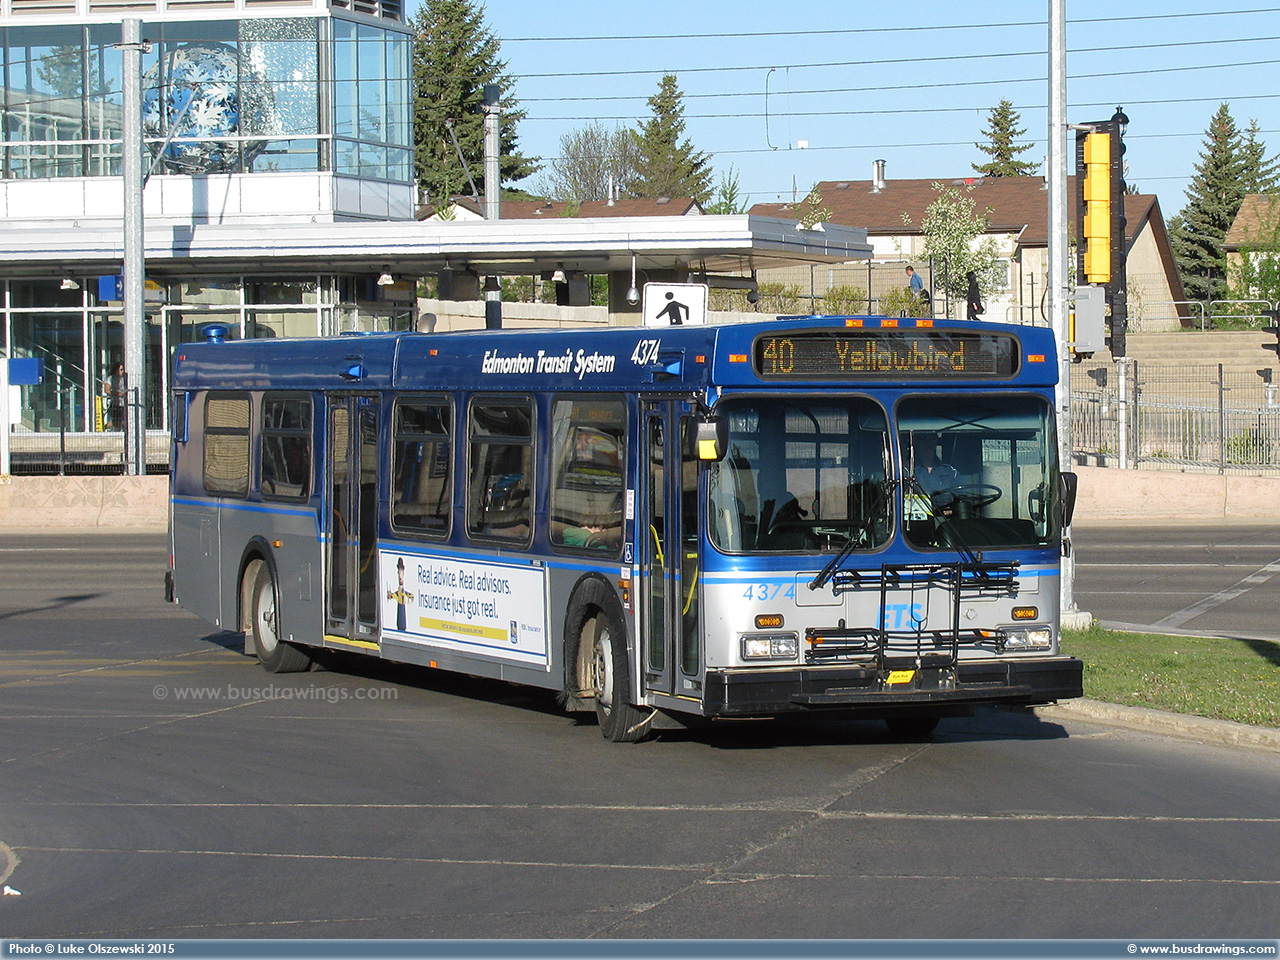
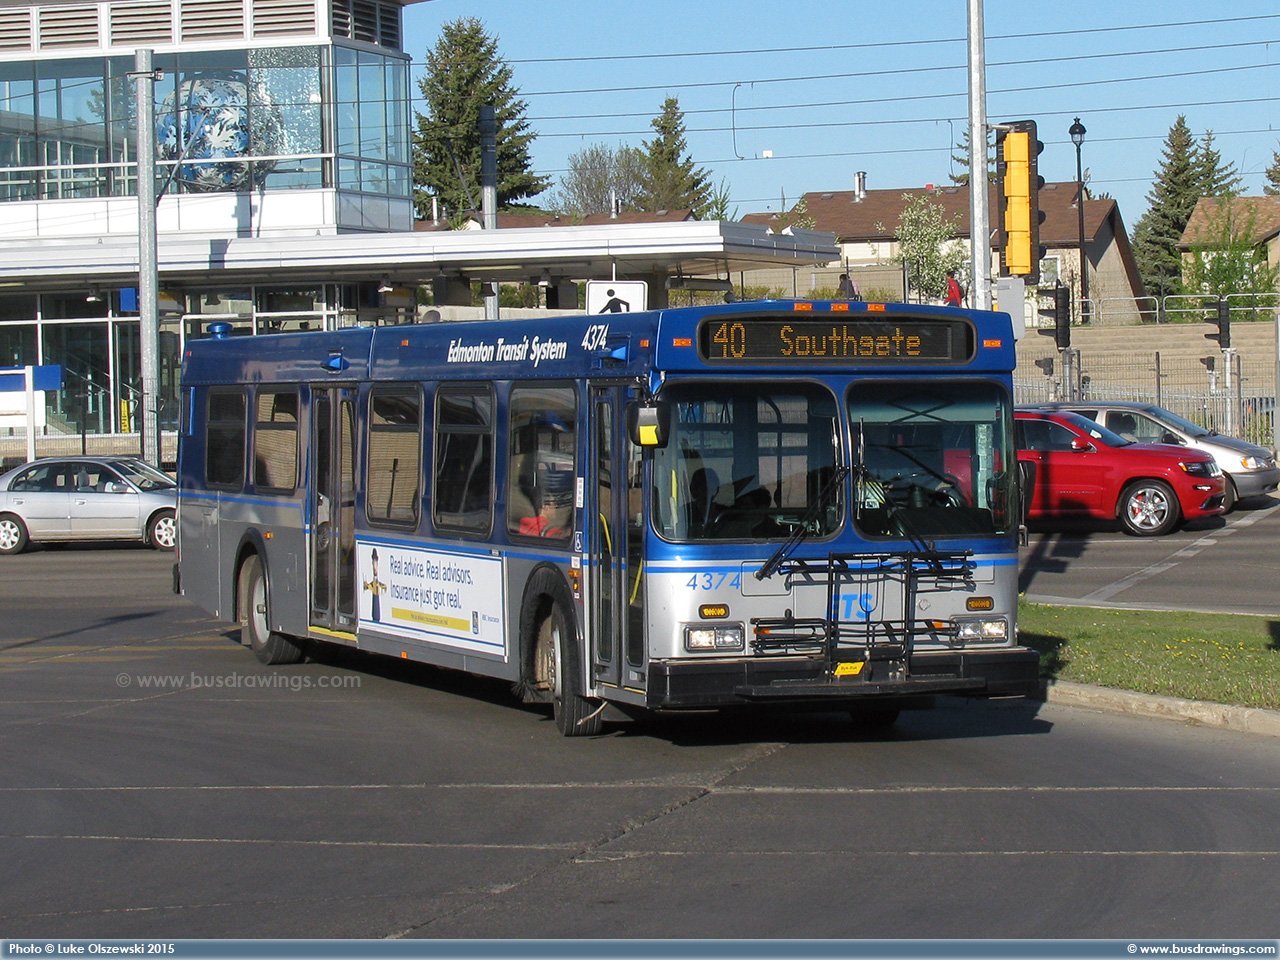
#4374 arriving at the Southgate LRT Station on May 21, 2015. Photos captured by Luke Olszewski. |
|
|
||
|
|
|
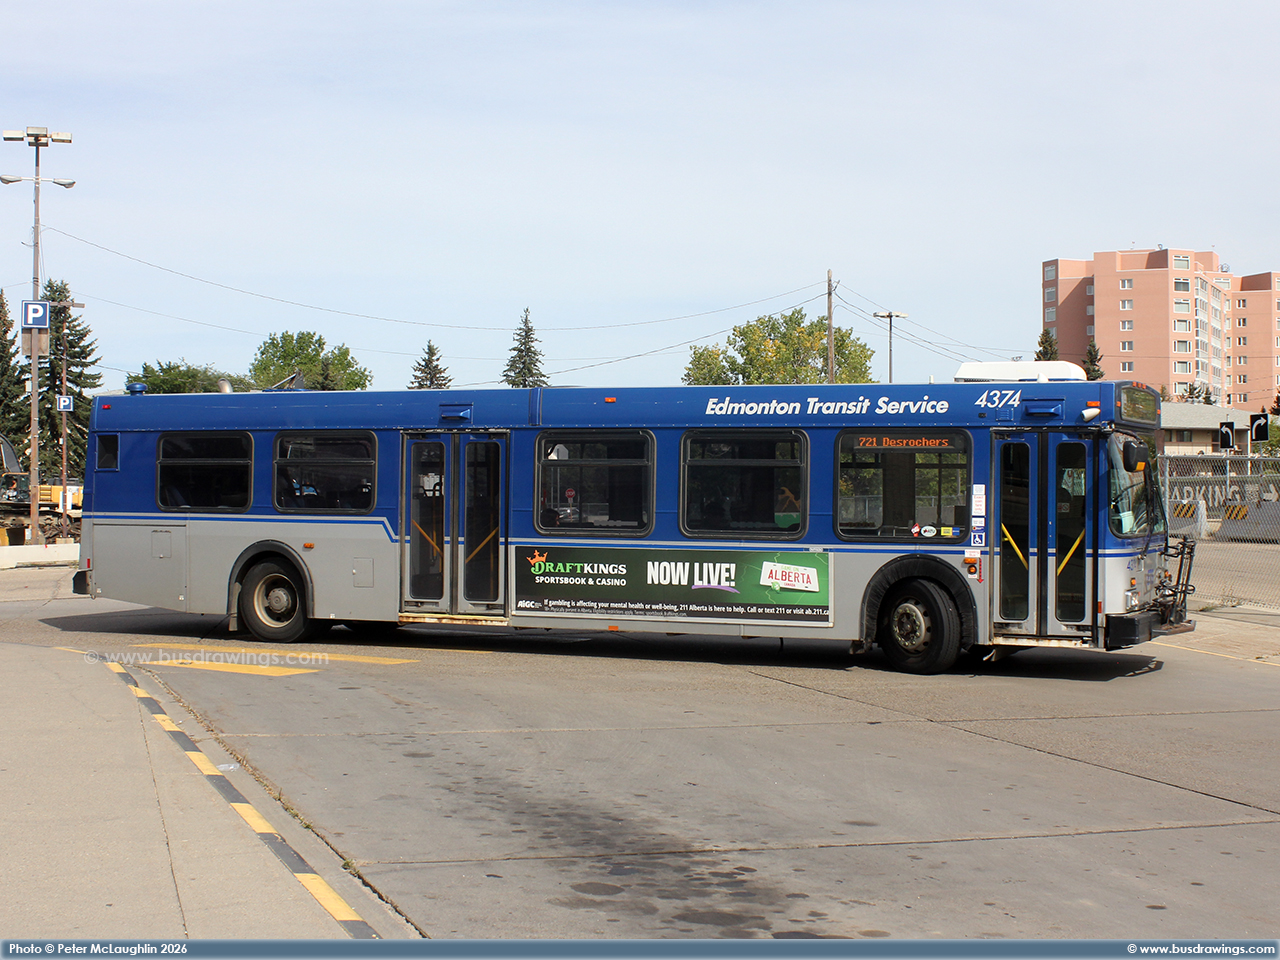
#4374 is seen arriving at the Century Park Station while working a route 521 on September 9, 2026. Photo captured by Peter McLaughlin. |
|
|
||
|
Photo
Added: |
|
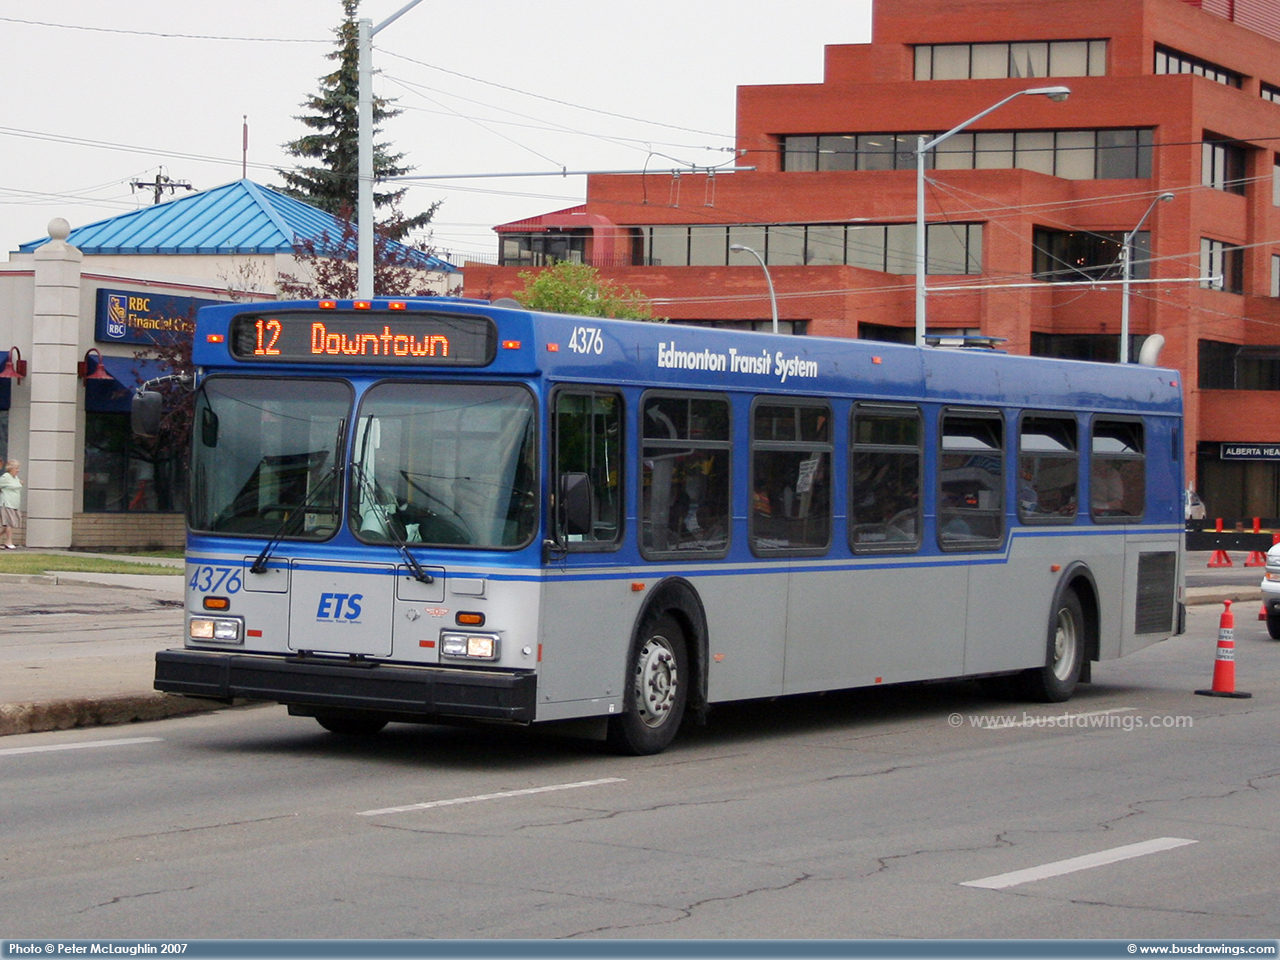
#4376. Photo captured on June 18, 2007 by Peter McLaughlin. |
|
|
||
|
Photo
Added: |
|
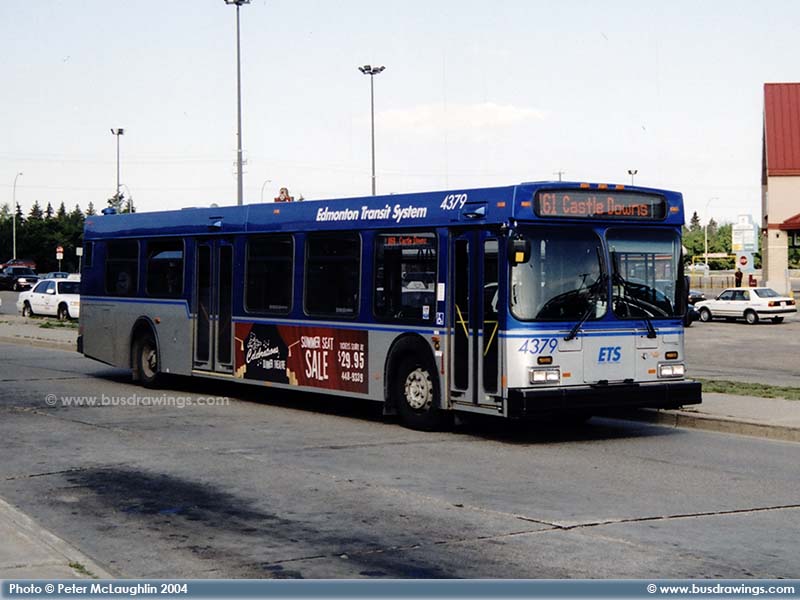
#4379 is seen at the Northgate Transit Centre while working as a route 161 Castle Downs on August 26, 2004. Photo by Peter McLaughlin. |
|
|
||
|
Photo
Added: |
|
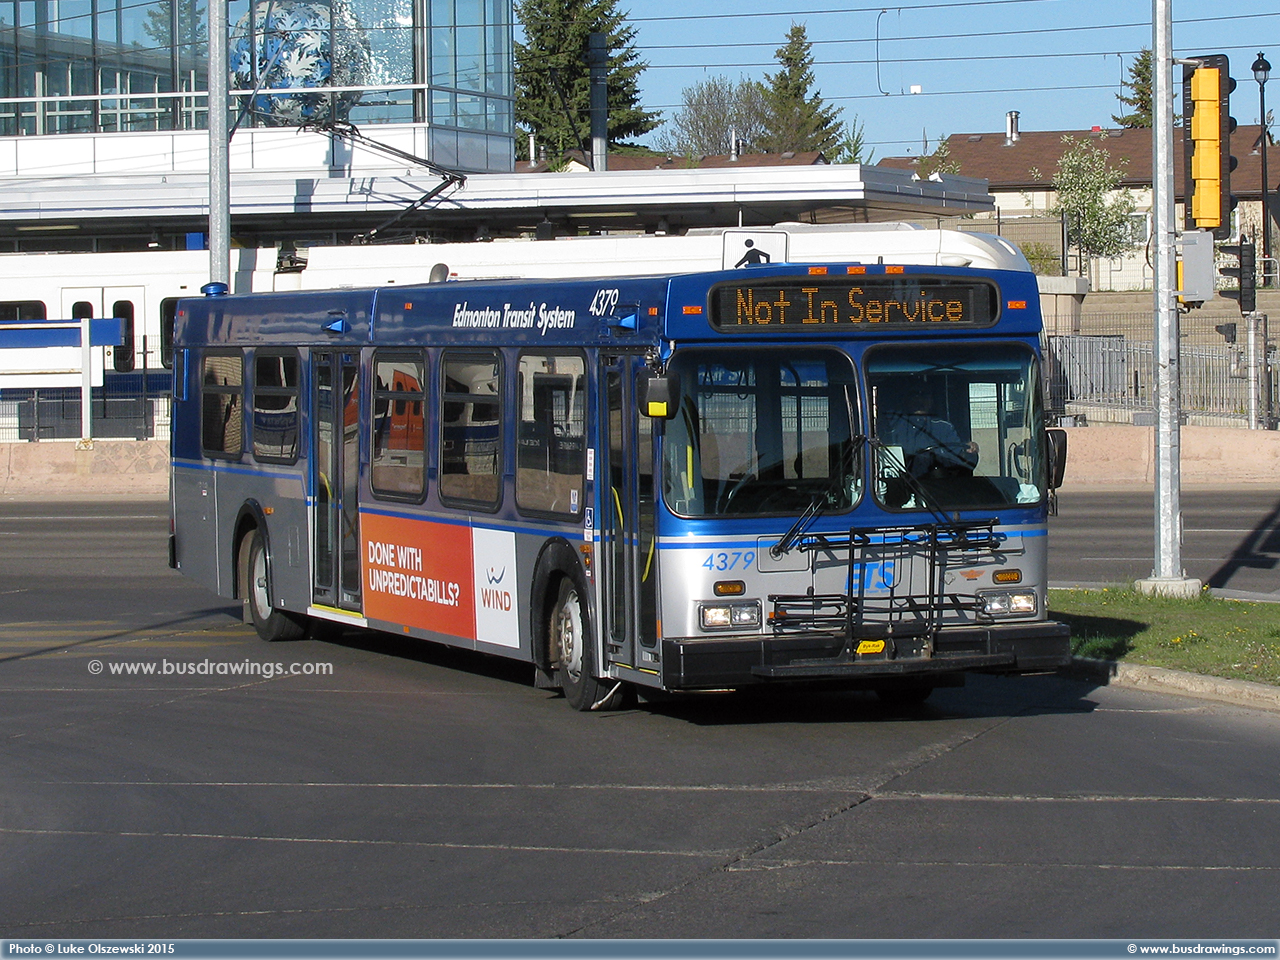
#4379 arriving at the Southgate LRT Station on May 21, 2015. Photo captured by Luke Olszewski. |
|
|
||
|
|
|
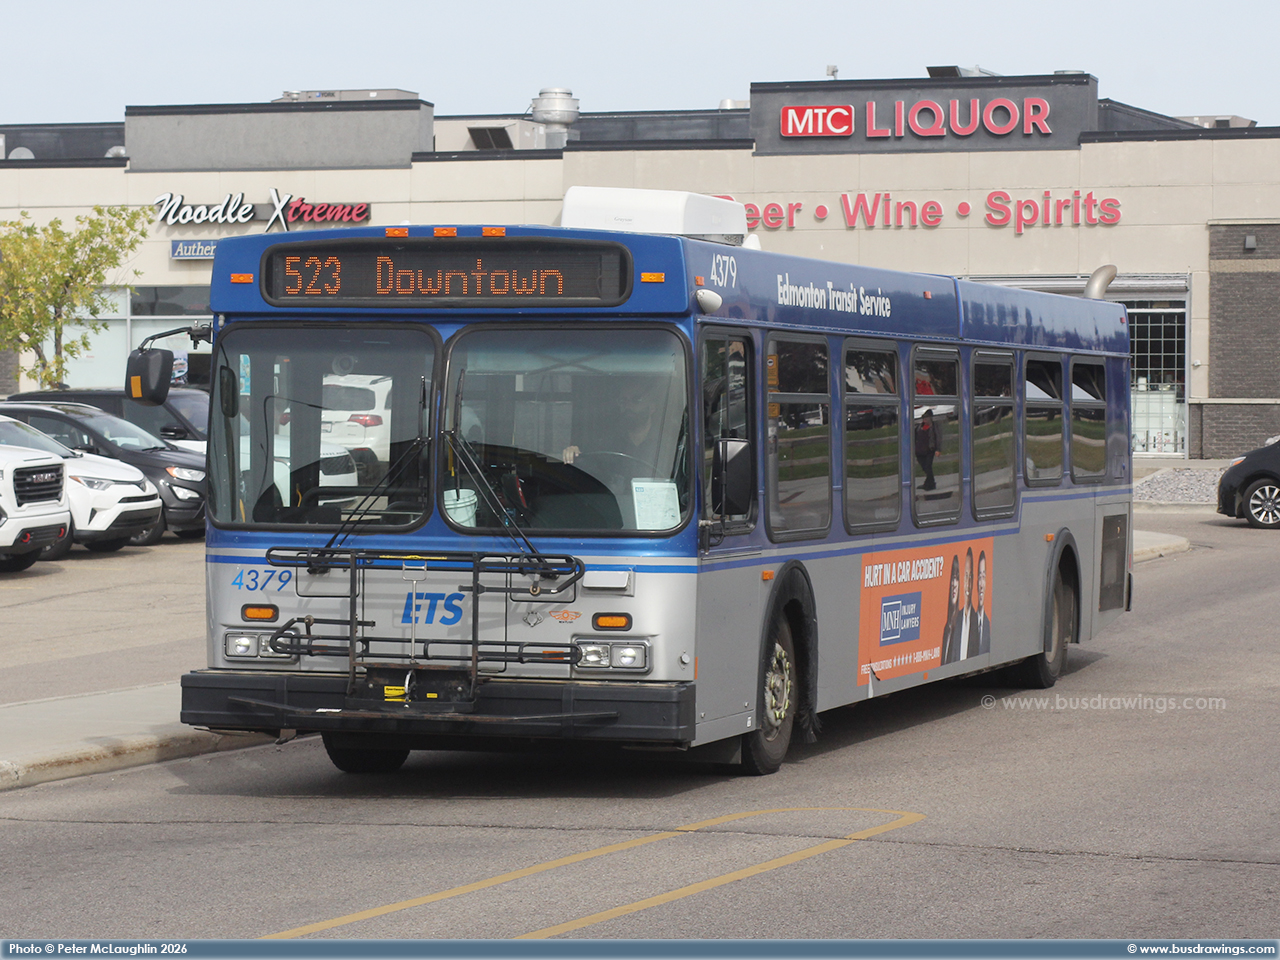
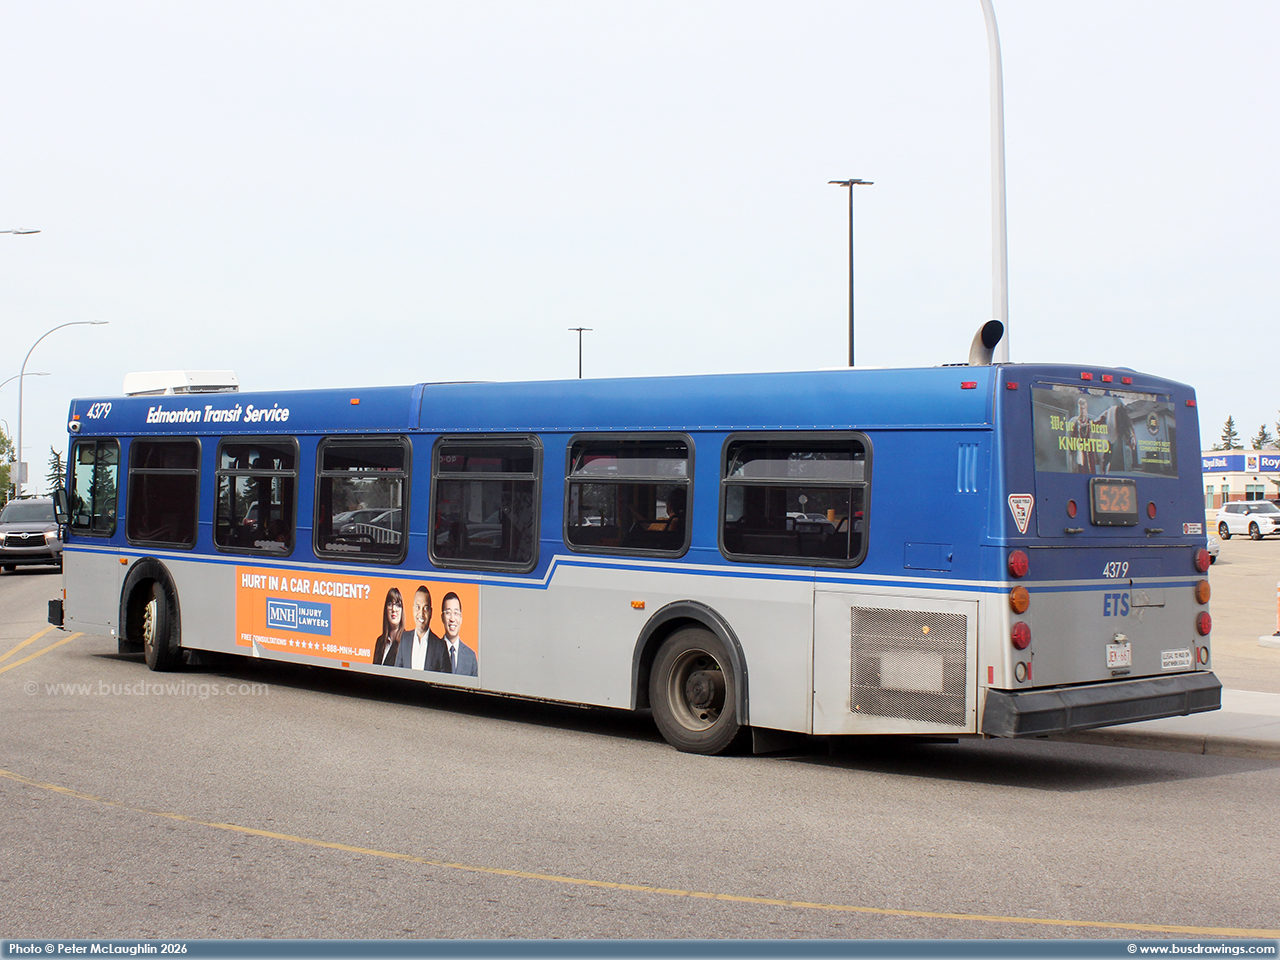
#4379 is seen arriving at the Mill Woods Town Centre while working a route 523 on September 9, 2026. Photos captured by Peter McLaughlin. |
|
|
||
|
Photo
Added: |
|
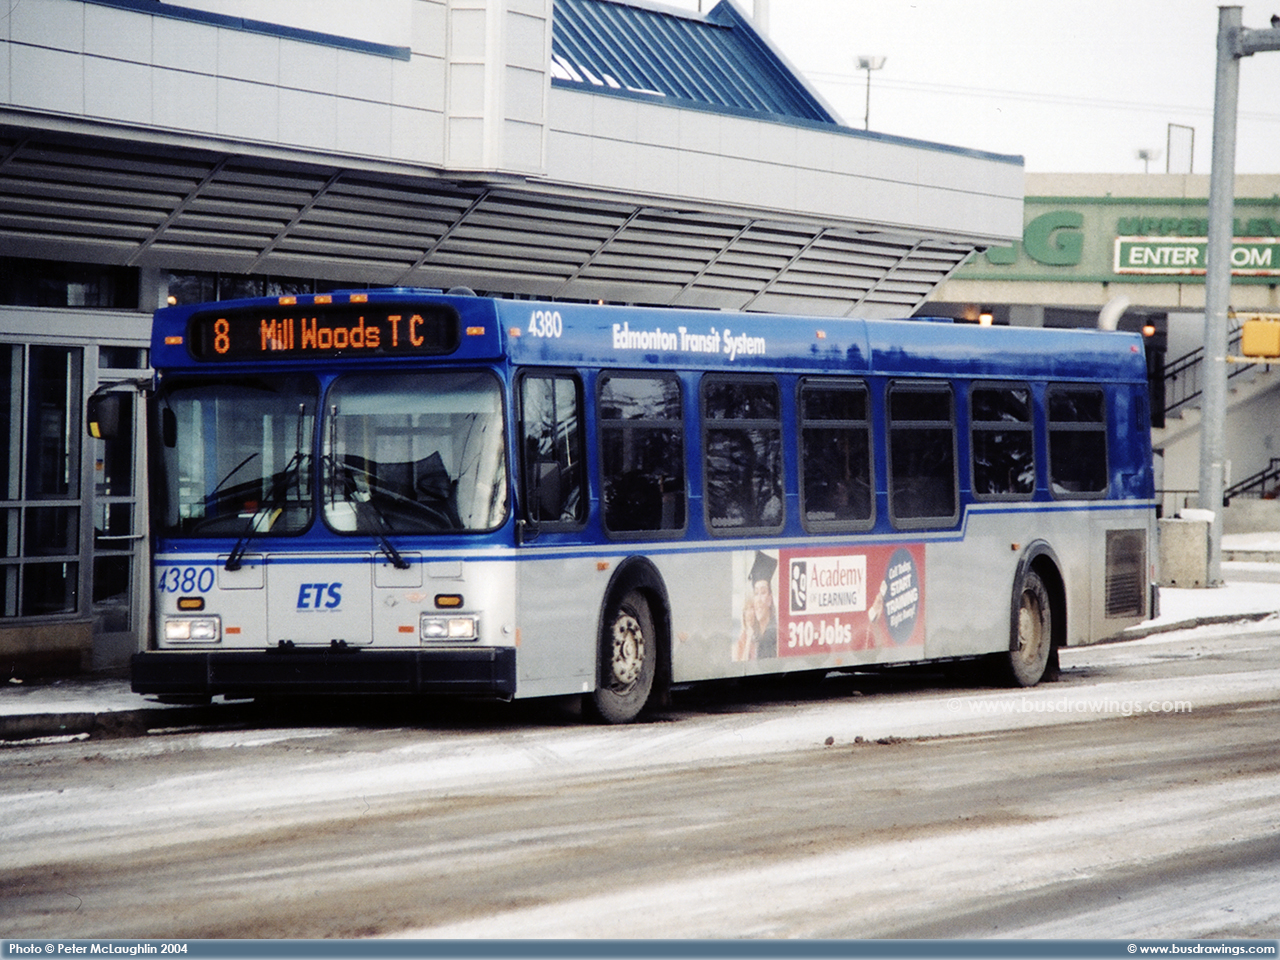
#4380 is seen at the Kingsway Transit Centre on February 14, 2004. Photo captured by Peter McLaughlin. |
|
|
||
|
Photo
Added: |
|
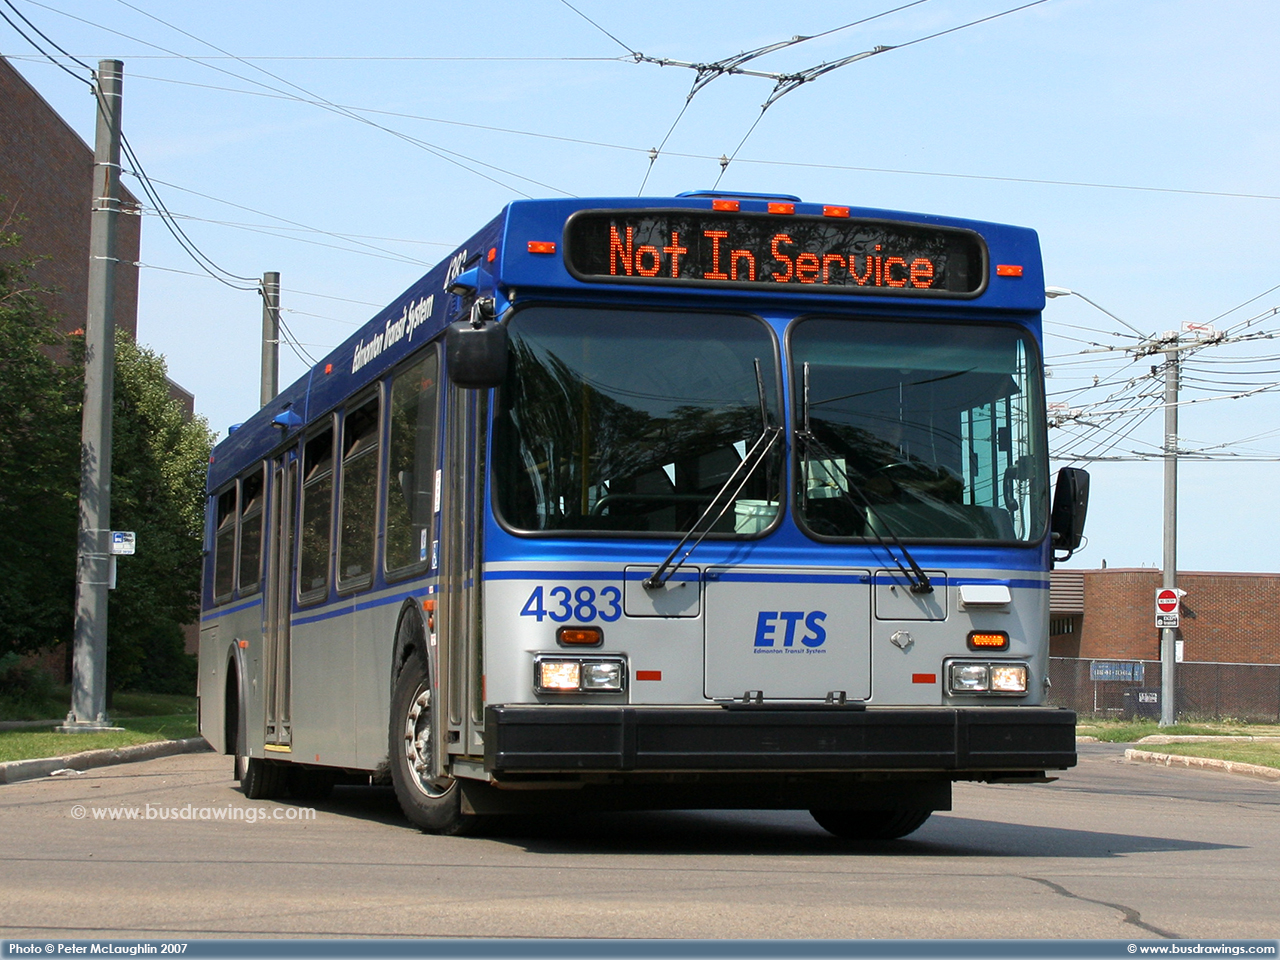
#4383 leaving Westwood Garage in the afternoon of June 18, 2007. Photo captured by Peter McLaughlin. |
|
|
||
|
|
|
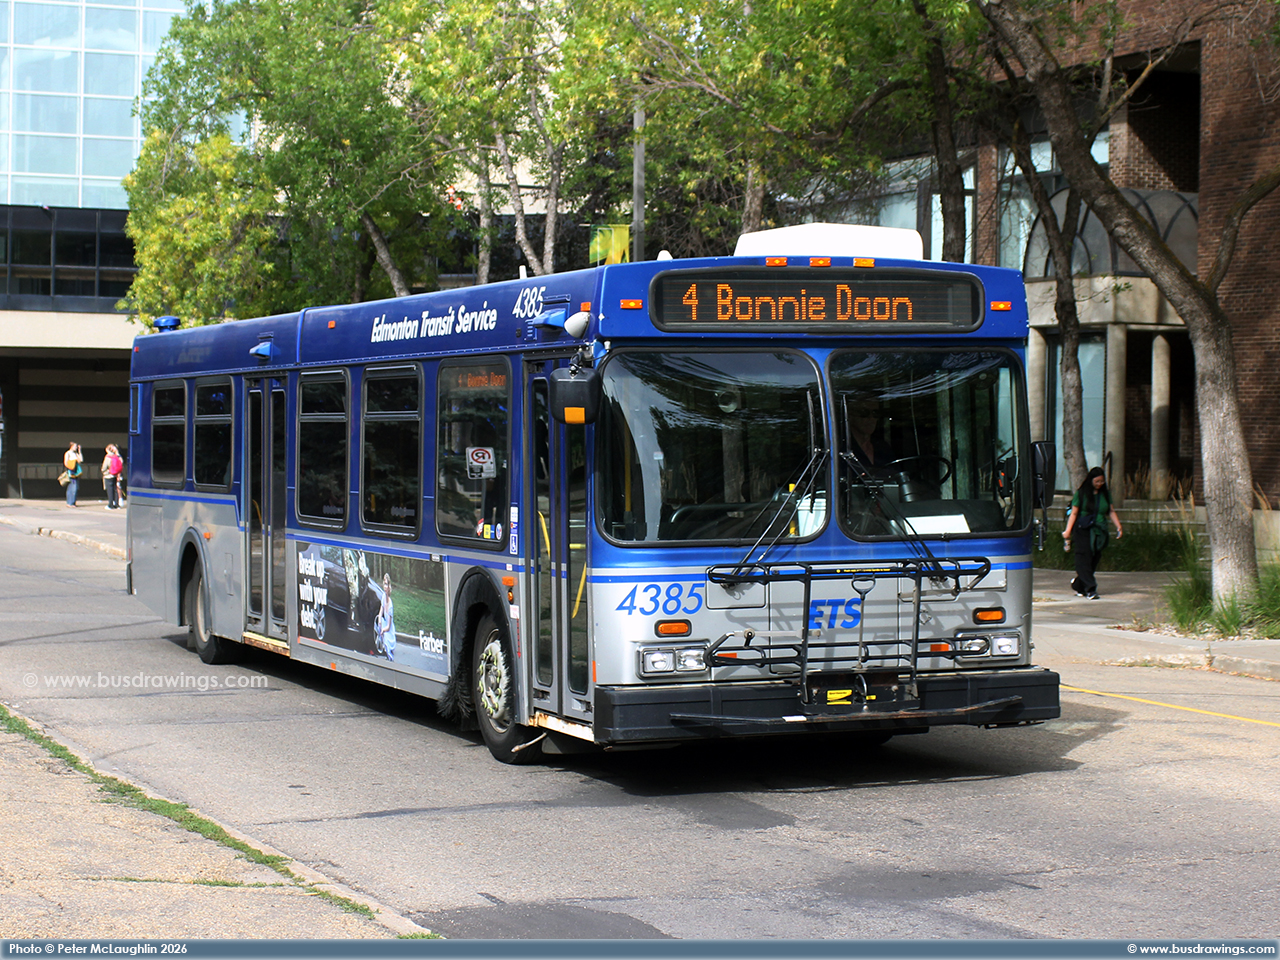
#4385 is seen leaving the University Station while working a route 4 on September 9, 2026. Photo captured by Peter McLaughlin. |
|
|
||
|
Photo
Added: |
|
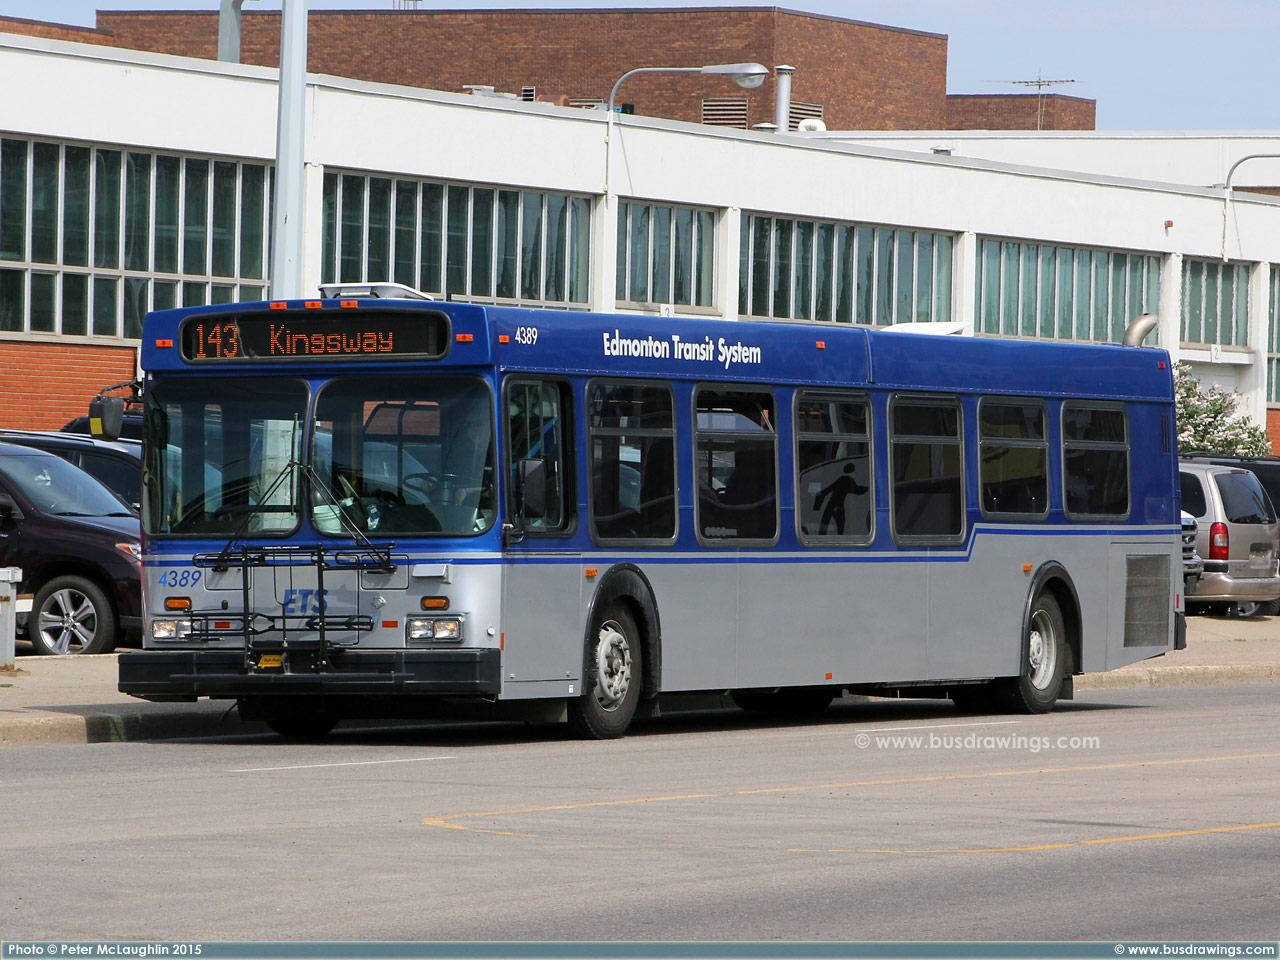
#4389 by N.A.I.T on May 21, 2015. Photo captured by Peter McLaughlin. |
|
|
||
|
|
|
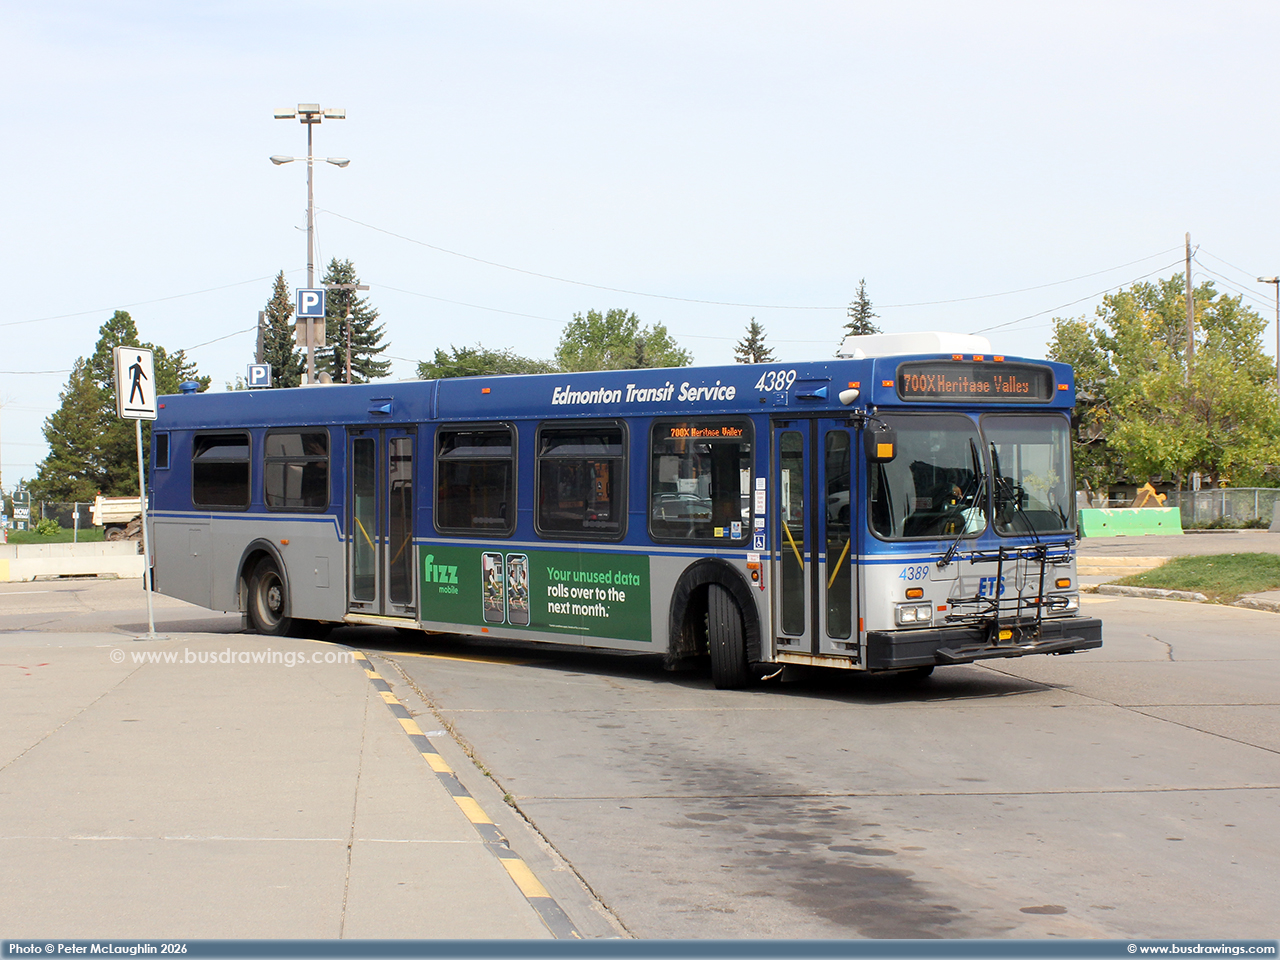
#4389 arriving at the Century Park LRT Station while working a route 700X on September 9, 2026. Photo captured by Peter McLaughlin. |
|
|
||
|
Photo
Added: |
|
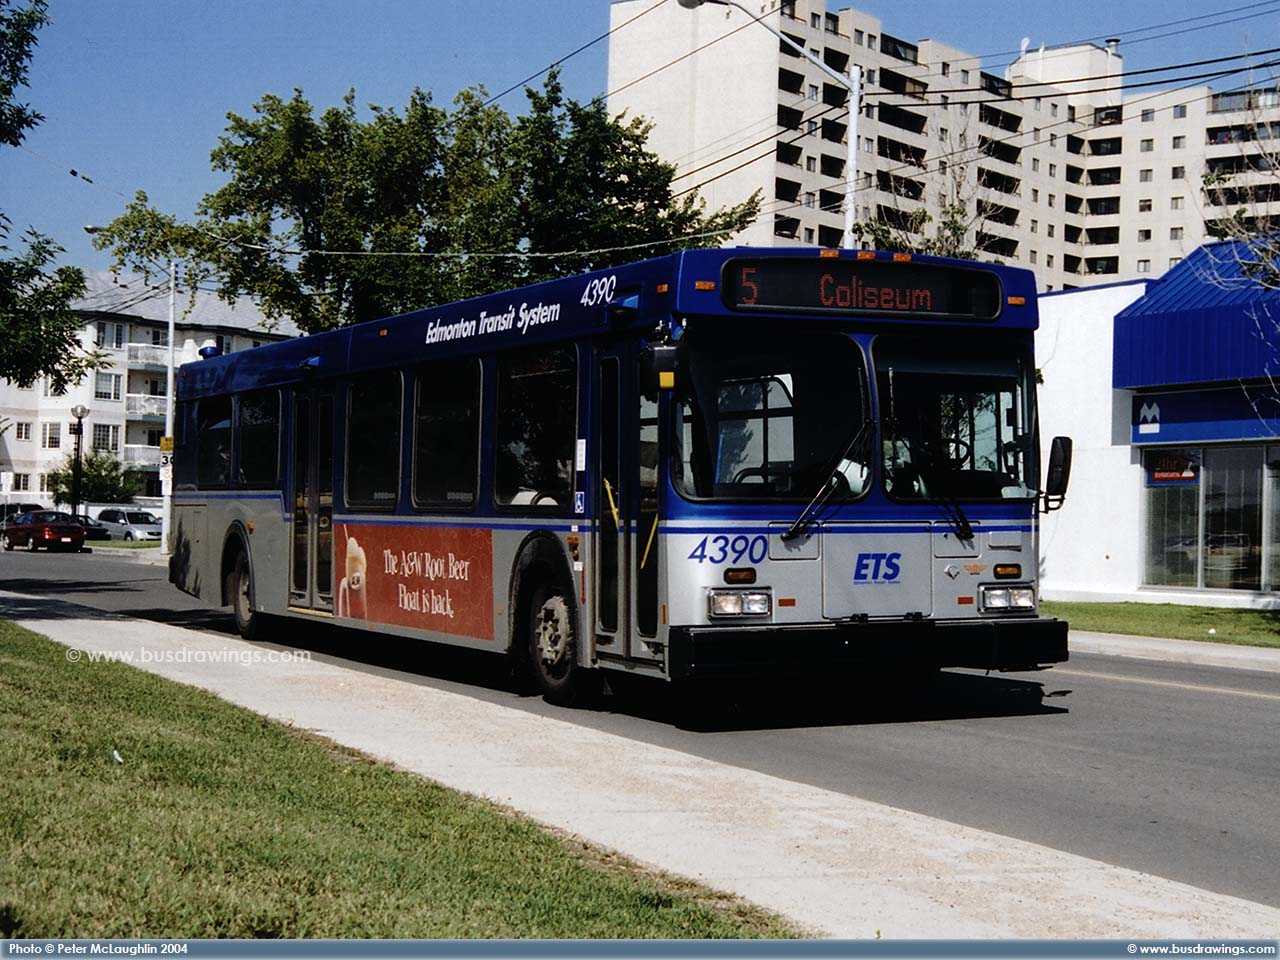
#4390 is seen near the Westmount Transit Centre while working as a route 5 Coliseum on August 26, 2004. Photo by Peter McLaughlin. |
|
|
||
|
|
|
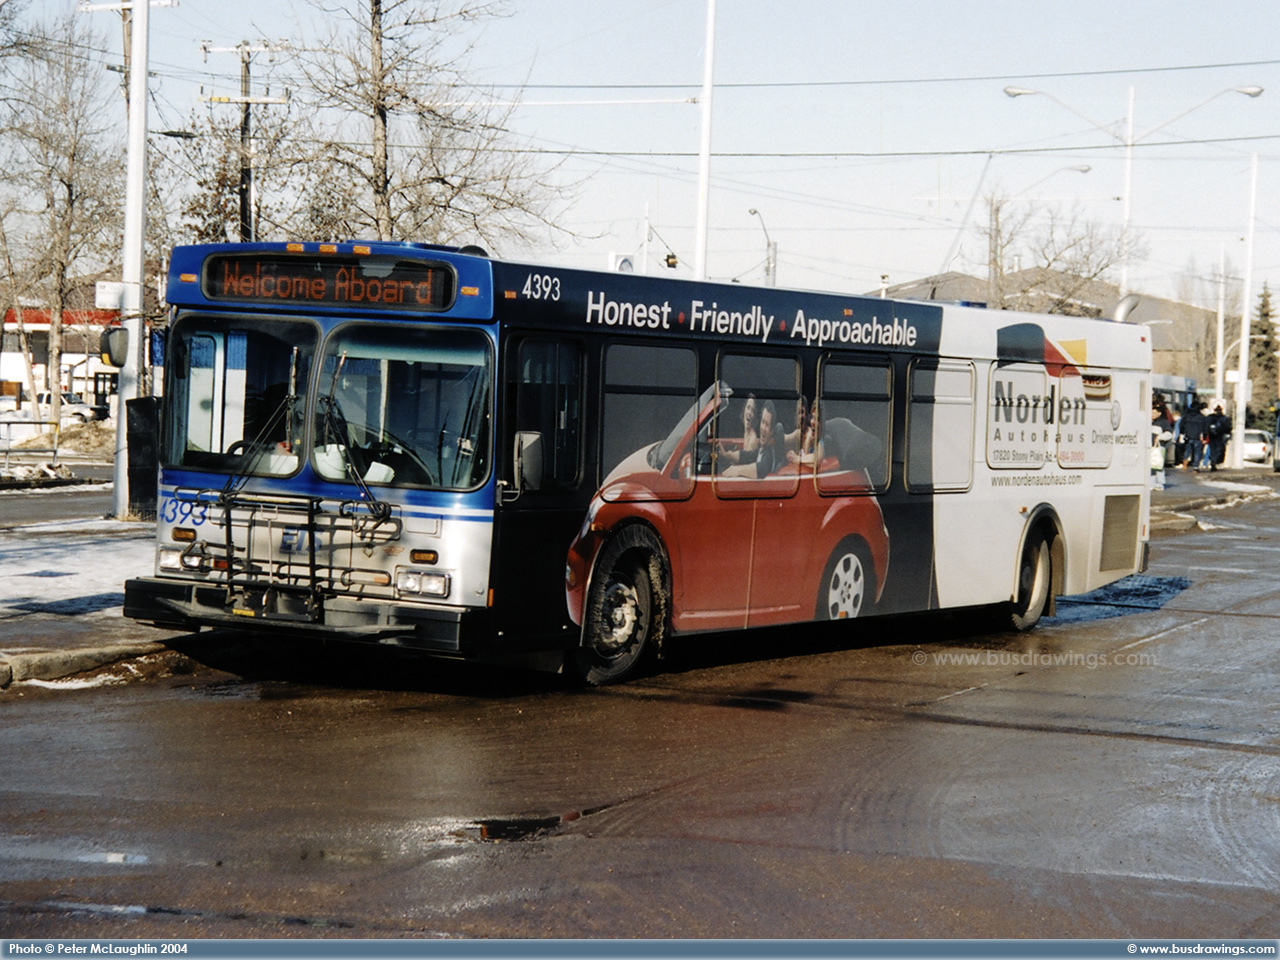
#4393 is seen at the Jasper Place Transit Centre on February 16, 2004. Photo captured by Peter McLaughlin. |
|
|
||
|
|
|
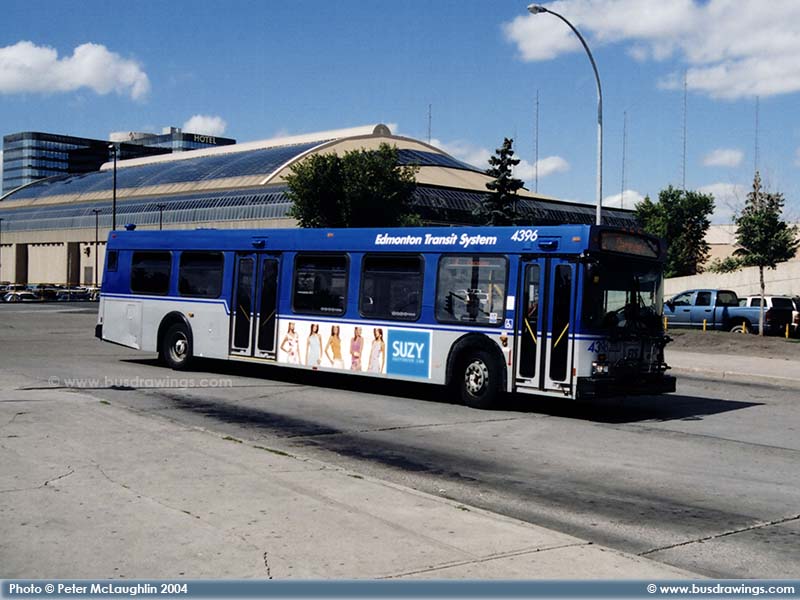
#4396 is seen arriving at the West Jasper Place Transit Centre on August 25, 2004. Photo captured by Peter McLaughlin. |
|
|
||
|
Photo
Added: |
|
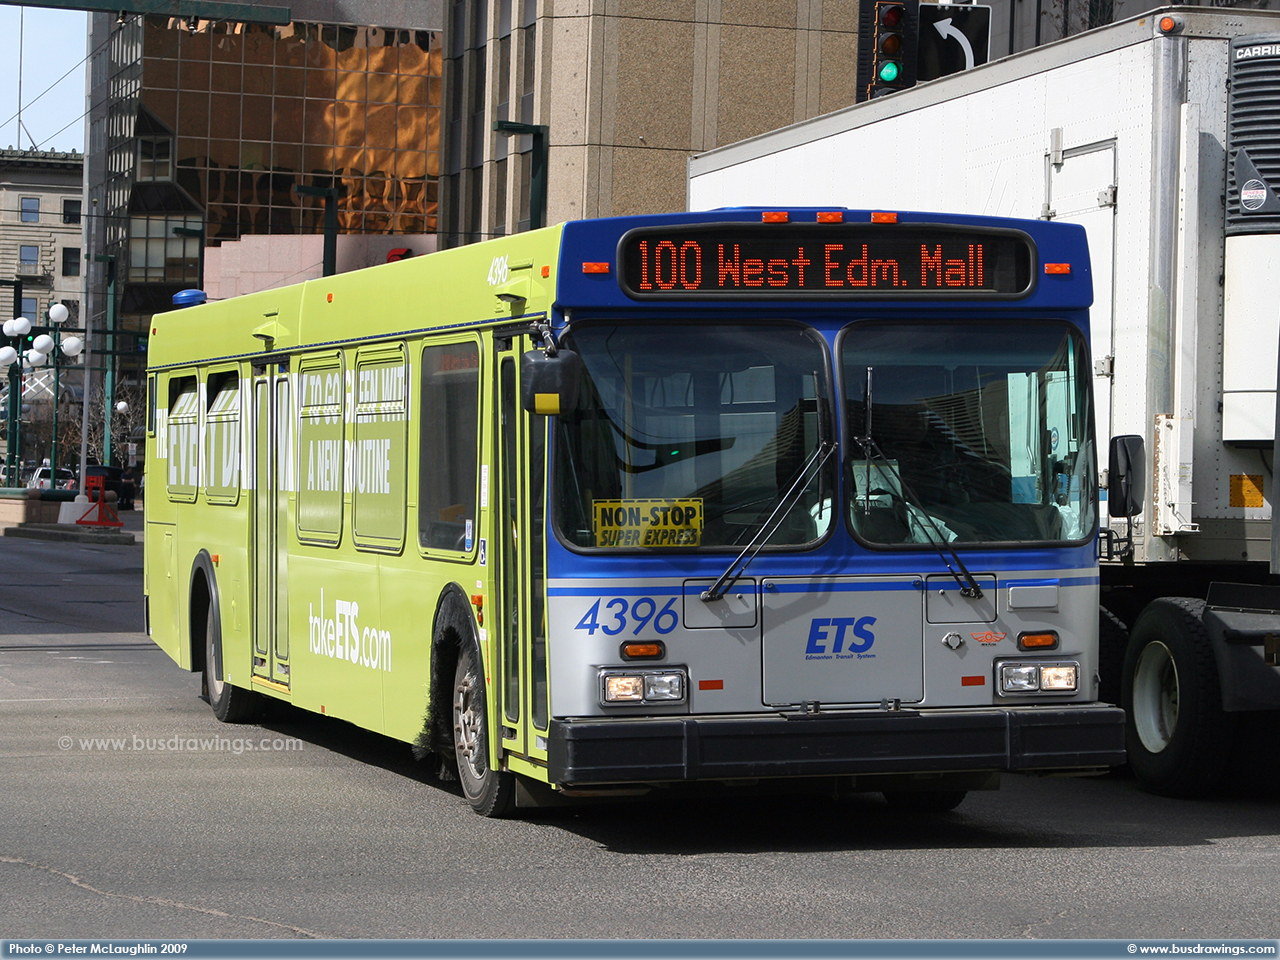
#4396 is seen in the downtown core on Jasper Ave. working a route 100 on April 21, 2009. Photo captured by Peter McLaughlin. |
|
|
||
|
|
|
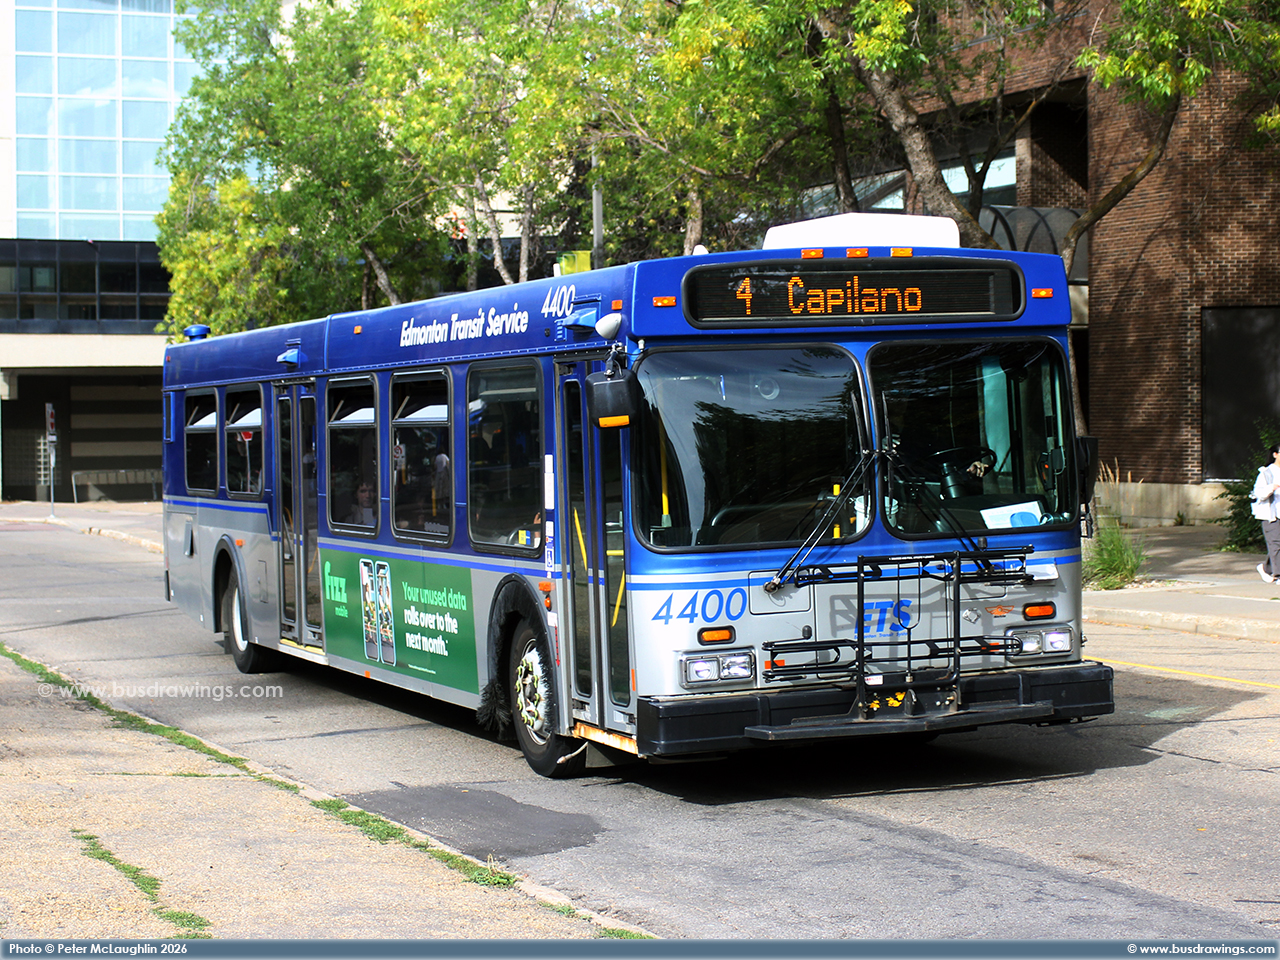
#4400 is seen leaving the University Station while working a route 4 on September 9, 2026. Photo captured by Peter McLaughlin. |
|
|
||
|
Photo
Added: |
|
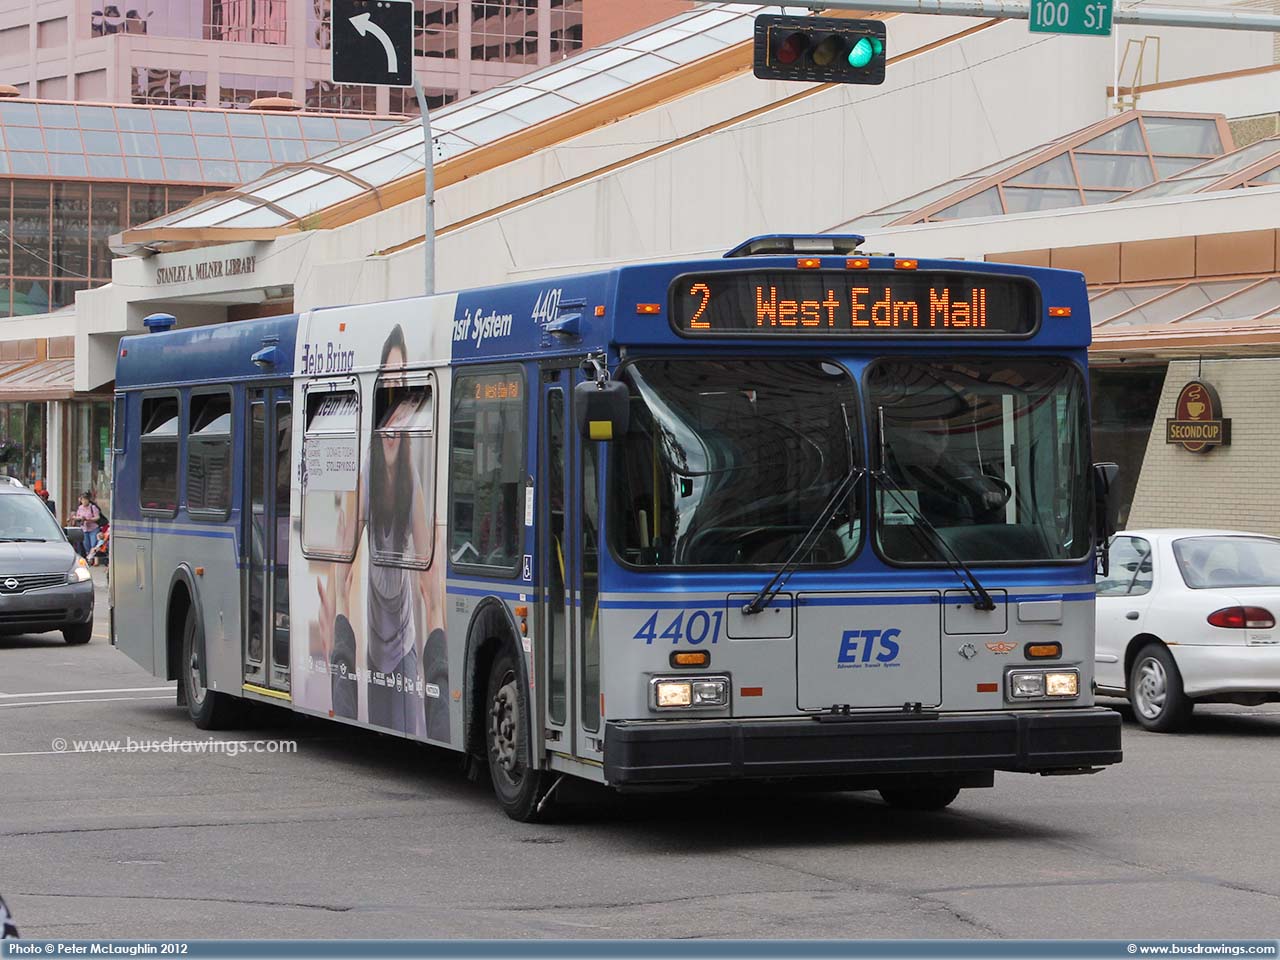
#4401 is seen in the downtown core on 102nd Ave. at 100th St. working as a route 2 on July 20, 2012. Photo captured by Peter McLaughlin. |
|
|
||
|
Photo
Added: |
|
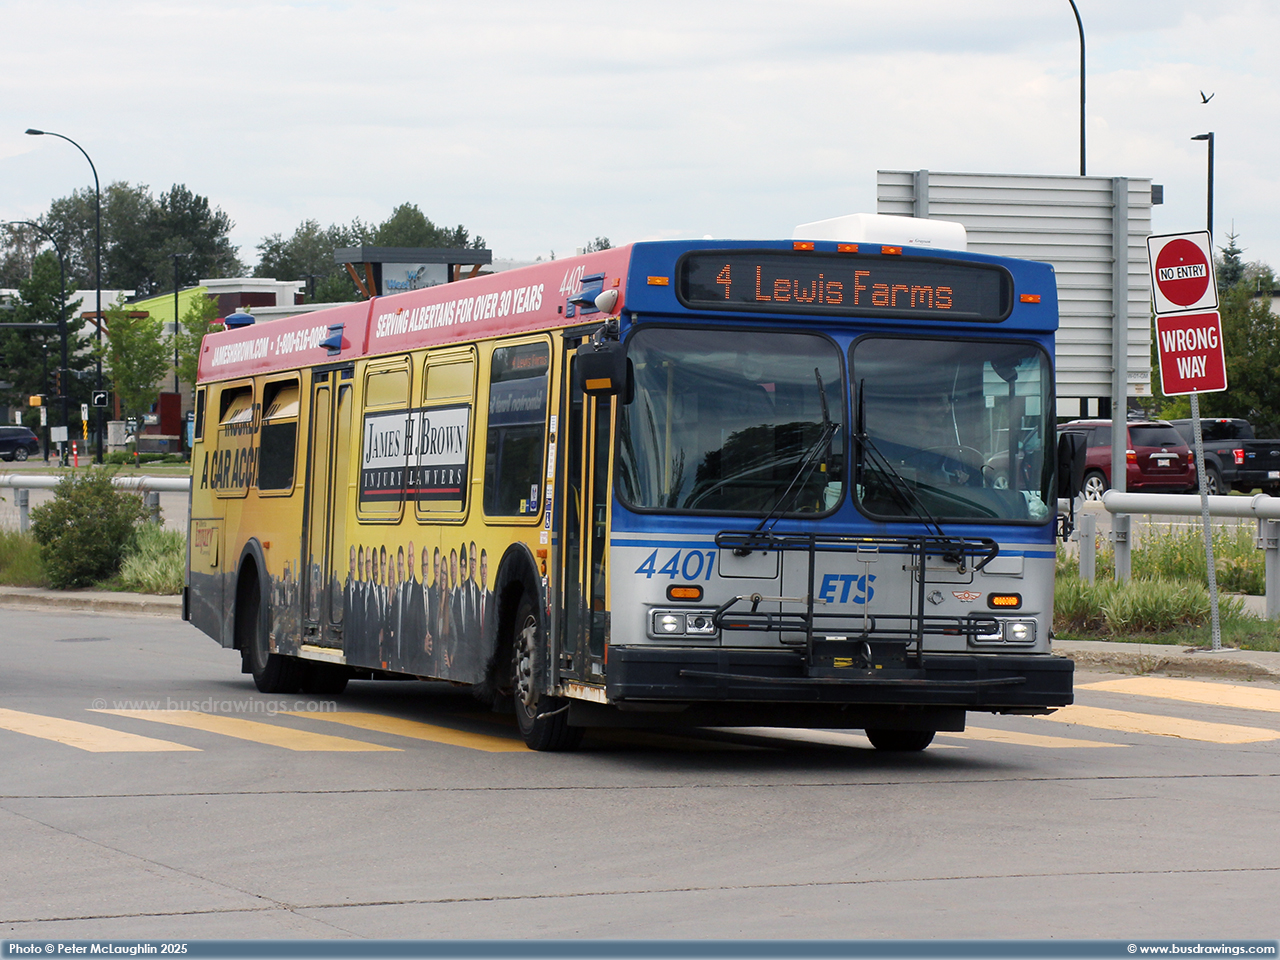
#4401 is seen arriving at the Lewis Farms Transit Centre as a route 4 on July 24, 2025. Photo captured by Peter McLaughlin. |
|
|
||
|
Photo
Added: |
|
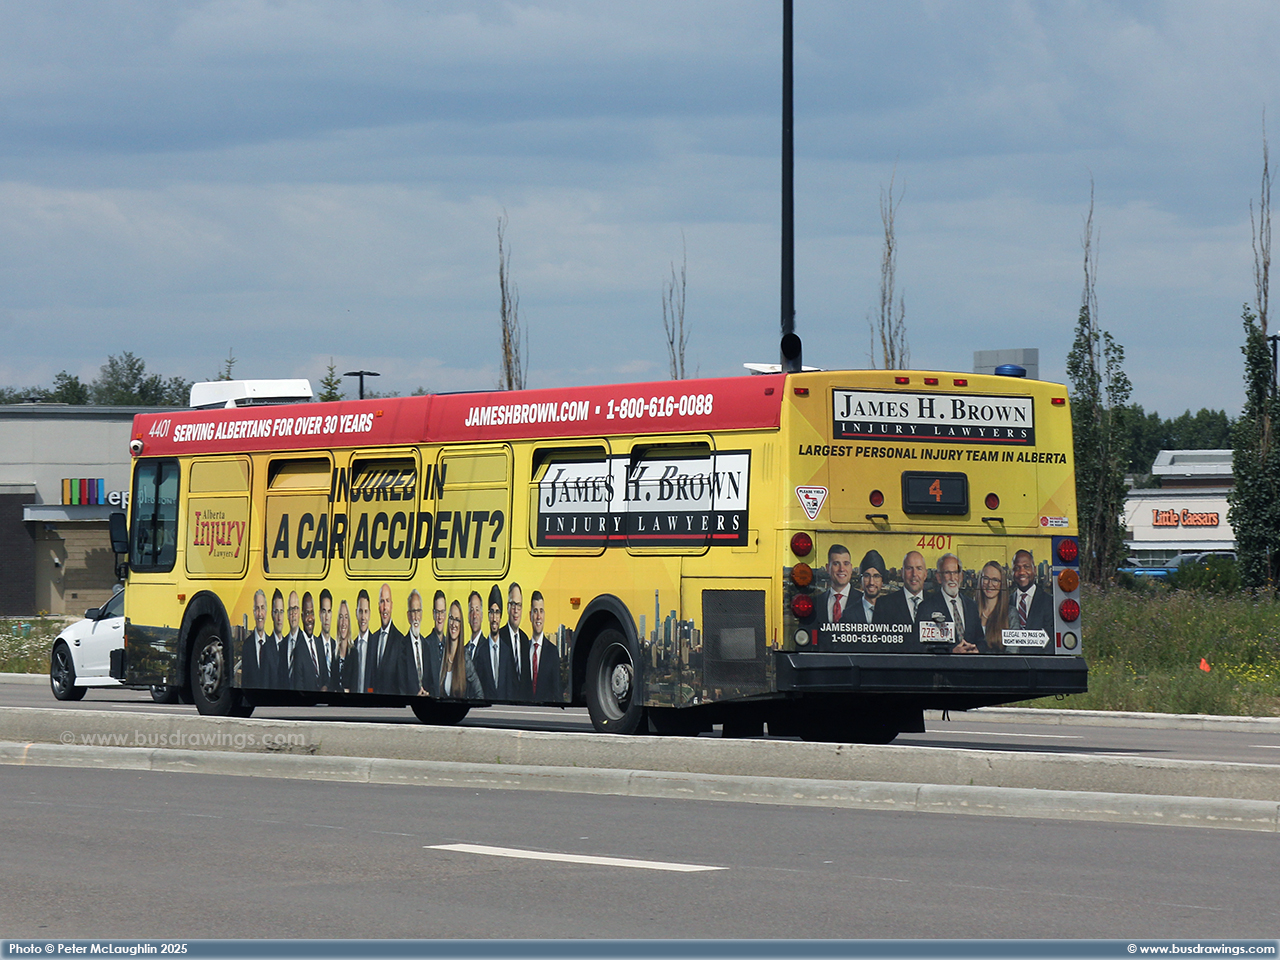
#4401 is seen leaving the Lewis Farms Transit Centre as a route 4 on July 24, 2025. Photo captured by Peter McLaughlin. |
|
|
||
| Main Page http://www.busdrawings.com | ||
 |
||